This is the third blog in continuation of my colleague Vincent Belfour’s earlier two blogs. Previously Vincent Belfour talked about setting up a trigger-based HubSpot/Salesforce integration.
In this blog, I will talk about the third way to set up Bulk Sync with Integration Builder to sync data between HubSpot and Salesforce. This flow will periodically query HubSpot CRM for Contacts and upload returned contacts to Salesforce. We will be able to demonstrate the following capabilities of Integration Builder:
- Bulk Job Creation
- Bulk Download/Upload
- Stream file
Prerequisites
- You’ll need the following for this tutorial:
- Axway AMPLIFY account – you can register for free.
- HubSpot CRM account – you can sign up for a free account.
- Salesforce Sales Cloud account – you can get a free developer account.
- Must complete the steps outlined in the HubSpot/Salesforce integration blog post since we’ll be reusing the mappings/transformation created in the previous blog.
Overview of Steps
- Create instances of HubSpot CRM and Salesforce Sales Cloud connectors.
- Build a data mapping to create a normalized representation of a Customer.
- Configure your connector instances to use the mapping.
- Build 2 flow templates. One to query HubSpot and initiate Bulk Job, the second to download the bulk file, and upload to Salesforce.
- Create a Flow instance, which schedules the first flow template as per the cron time settings.
- Monitor flow in Bulk Job logs.
Create Step 1 flow
- Navigate to the Flows tab in the Integration Builder UI
- Click the Build New Flow Template tile
- Click the BUILD NEW FLOW option
- Name the flow Bulk Sync Step 1
- Click CREATE
- Select Scheduled as the trigger type by clicking the ADD Scheduled button
- In the Cron text box, type ${config.cron}. this will then show up on instance creation page for us to provide cron time format.
- Click Save
Build the flow
- You should now be in the flow editor with the beginning of a flow on the pallet.

- The first thing we need to do is define all the required variables for the flow. To define variables. Click on the Manage button (right top side) à Manage Variables.
Create variables as per the below table.
| Name | Description | Type | Required |
| CRM Source | Source CRM instance to take updates from and push into Act-On | Connector Instance
| Yes |
| SecondFormulaInstanceId | The ID of the second formula instance | String | Yes |
| cron | Scheduler time format | String | Yes |
| object | Which object to pull from the CRM (contacts, accounts, CustomContact, etc.) | String | Yes |
- Click Save.
- Next, Create a bulk Query and required headers.
- Click the Add Step icon (blue plus).
- Select JS Script as a flow step type.
- Enter a name createQuery.
- In the body of the code editor, type the code below like in the screenshot.
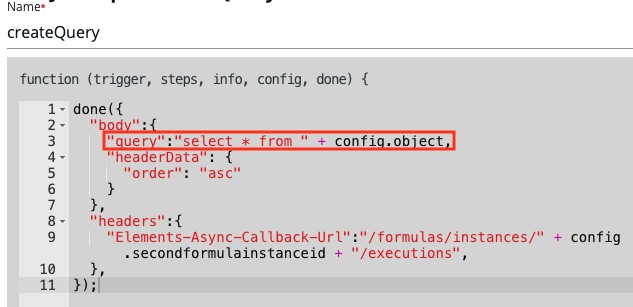
One thing to note here is that we are defining the query. This is used to determine what object data and on which condition it will be retrieved.
For this example, we are setting a query to bring an entire data set from the config.object. When we will create an instance, we will set the object value to the mapping resource named “myContacts” created in an earlier post. You can change your query as you like; query accepts SQL like format.
- Next, we will initiate the Bulk job.
- Click on createQuery step and select ADD ONSUCCESS.
- Select the Connector API Request step.
- Enter the name createBulkJob.
- Connector Instance variable – Click on blue + icon and select CRM Source variable.
- Method – POST
- API – /bulk/query
- Headers – ${steps.createQuery.headers}
- Body – ${steps.createQuery.body}
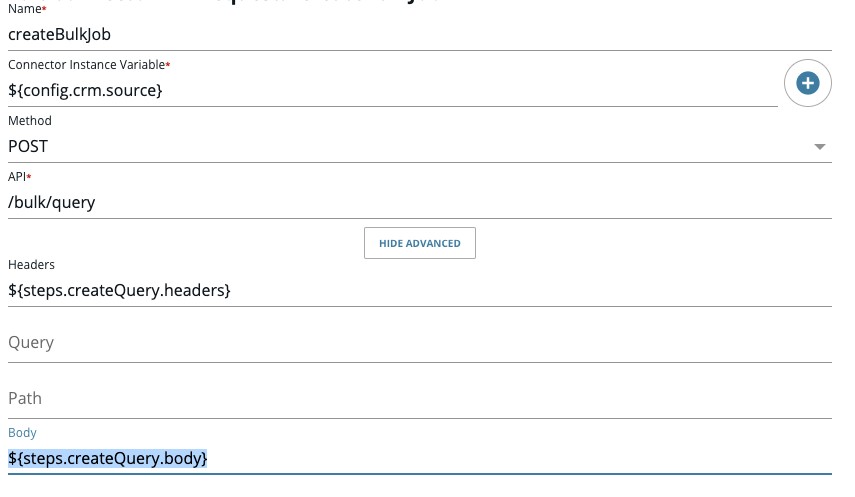
- Click Save.
We are done creating Bulk Step 1.
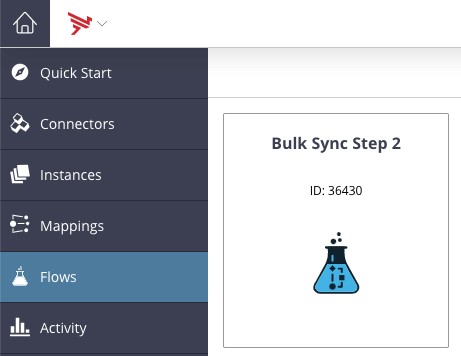
Create Step 2 flow
- Navigate to the Flows tab in the Integration Builder UI
- Click the Build New Flow Template tile
- Click the BUILD NEW FLOW option
- Name the flow Bulk Sync Step 2
- Click CREATE
- Select Manual as the trigger type by clicking the ADD MANUAL button
- Click SAVE
Build the flow
- You should now be in the flow editor with the beginning of a flow on the pallet.

- The first thing we need to do is define all the required variables for the flow. To define variables, click on the Manage button (right top side) à Manage Variables.

Create variables as per the below table.
| Name | Description | Type | Required |
| CRM Source | Source CRM instance | Connector Instance
| Yes |
| target | Act-On Target Instance | Connector Instance
| Yes |
| object | Which object to pull from the CRM (contacts, accounts, CustomContact, etc.) | String | Yes |
- This flow gets triggered as part of the callback URL from step 1. First, we will check if the status of the job when callback happened was completed or not. If it is completed, only then we will move to the next step.
- Click on the blue + button and add a step.
- Add JS Filer Step, and name it isSuccess
- Type in the code below.
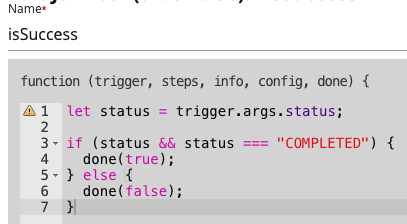
- The flow will move only if JS Script steps return true/success.
- Next is click on isSuccess step and Select ADD ONSUCCESS. We will add JS step to form metadata for stream step.
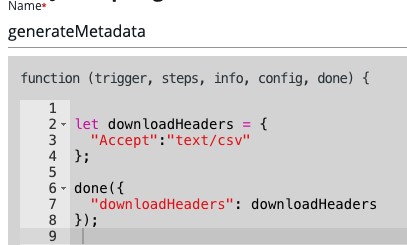
- Select the JS Script step and name it generateMetadata.
- Type in below code in JS Script editor.
- Next, add the Stream file step. This step will download the files created by the Bulk job in Step 1 flow and then simultaneously upload the file to the target system.
- Click on generateMetadata and click ADD ONSUCCESS.
- Add Stream File step and name streamBulkResults.
- Download connector instance variable – click the plus button and select CRM Source.
- Download Method – GET
- Download API – /bulk/${trigger.args.id}/${config.object}
- Upload connector instance variable – click blue plus button and select target.
- Upload Method – POST
- Upload API – /bulk/${config.object}
- Click Show Advanced and Download Headers – ${steps.generateMetadata.downloadHeaders}
- Click Save
We are done creating flows. Next up, we will create an instance of flow and test our flows.
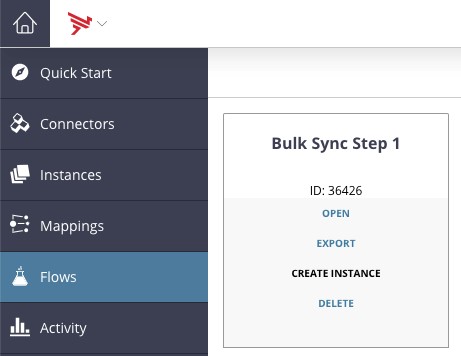
Create an Instance of the Flow Bulk Sync Step 2
- Click on the Flows menu item.
- Hover over the tile for your Bulk Sync Step 2 flow. We will start by creating an instance for the second flow as we need an instance Id to in the first step instance creation.
- Click CREATE INSTANCE
- Configure the Flow Instance:
- Name: Bulk Sync Contacts hubspotToSalesforce
- Click the + button next to the CRM Source icon and select your HubSpot CRM Connector Instance
- Click the + button next to the target icon and select you Salesforce CRM Instance
- Type myContacts in the object text box. This is similar to what you named your mapping object in the priors blog.
- Click CREATE INSTANCE
- Copy and store instance id which will be shown up once an instance is created.
Create an Instance of the Flow Bulk Sync Step 1
- Similar to the previous step, we will create an instance for step 1 now.
- Configure the Flow Instance:
- Name: Create Job Bulk Sync Contacts hubspotToSalesforce
- Click the + button next to the CRM Source icon and select your HubSpot CRM Connector Instance
- Provide cron time format in cron text box. Check out this website to find your desired format. e.g. 0 */15 * ? * * This format means every 15 minutes.
- Type myContacts in the object text box. This is similar to what you named your mapping object in the previous blog.
- Type second formula instance ID copied from the previous step in SecondFormulaInstanceId text box.
- Click CREATE INSTANCE
Test the flow
Instances are created and Step 1 is running at the time scheduled by you. If you followed my example, then your instance is scheduled to run every 15 minutes. Once the Formula Step 1 is running, it invokes step 2 by using a call back URL. So, we can wait for 15 minutes for the formula to run or you can reduce your cron time to a minute so that you can run it faster.
To check whether the instance was executed and what happened to a bulk job there are few things you can do.
- Navigate to the Instance tab and click on the Executions button in your instance column. Your instance will be under Flow instance.
- You can check if there are any executions: success or failure etc.
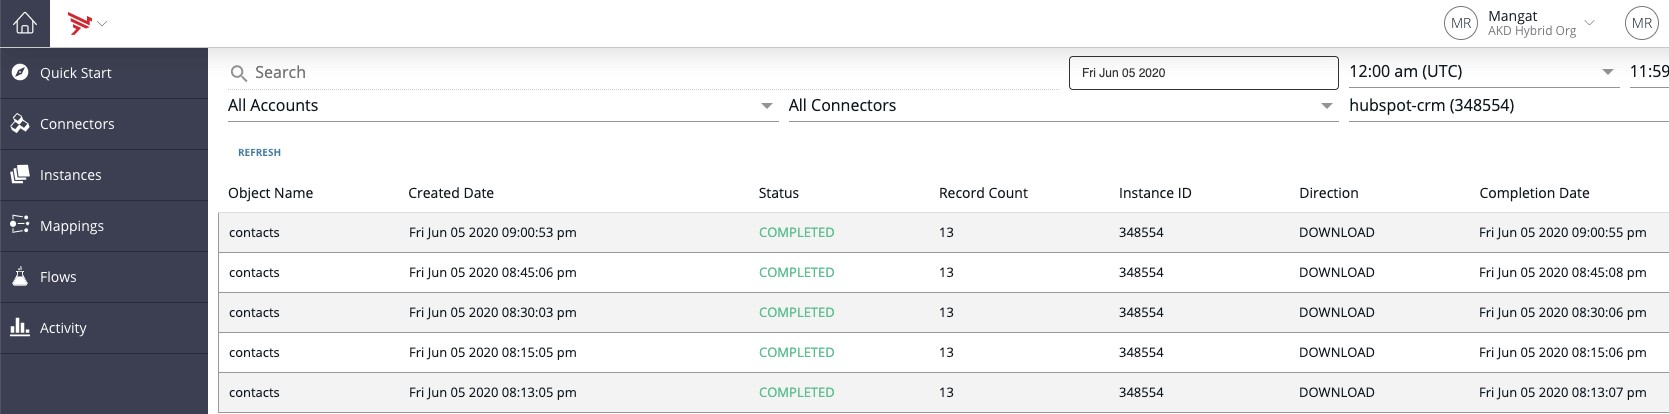
Another way is to look into bulk job logs. This will give you a more detailed view of bulk job status, how many records were processed, how many in success/failure etc.
- Navigate to Quick Start
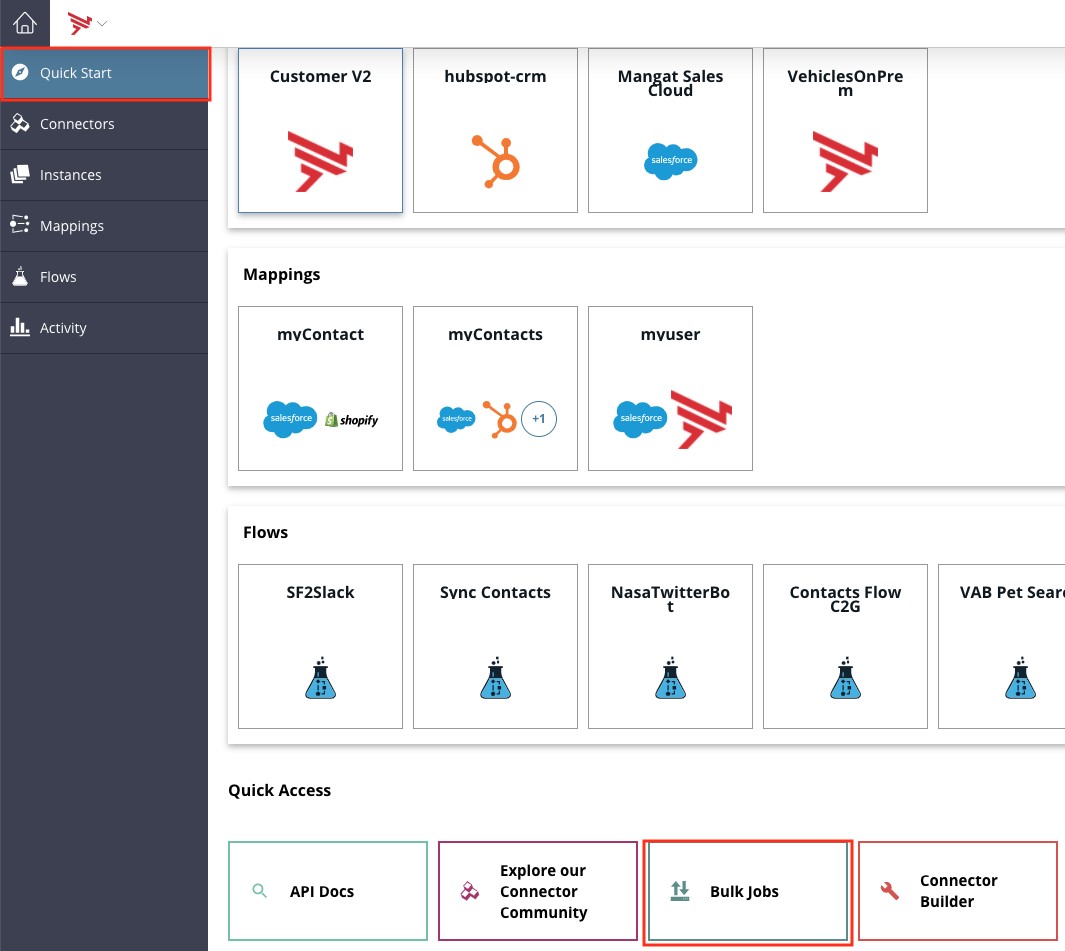
- Click on the Bulk Job button to see the status of all the download and upload jobs.
- Click on any of the columns to dig deeper into the bulk job.
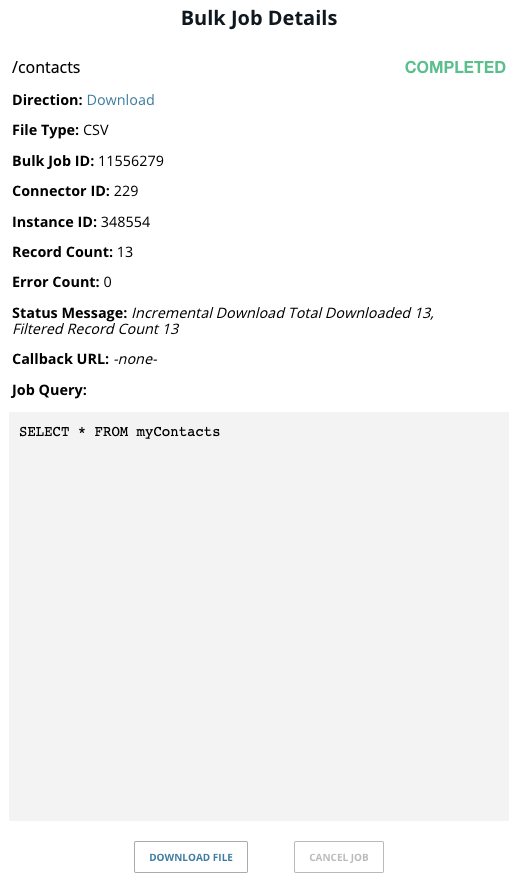
You can see the status of a job and which query was executed. You can even see what data file was created, how many records there are, etc. Similarly, you can check and upload a job to see the status of the destination side.
- If the status in executions and jobs look green, then you have a working flow.
Congratulations! You successfully set up bulk sync between HubSpot and Salesforce CRM.
We demonstrated how quickly and easily I was able to set up a sync between two CRM systems. I didn’t have to write a lot of code or implement transformations. The platform was able to take care of everything for us. And the concept of bulk is not limited to the out-of-the-box connector, we can implement this to any Connector, even the ones we create on our own using swagger/wsdl files.
I hope this blog gets you started on solving some use cases. Please don’t hesitate to comment or reach out in case you have any questions.
Learn more about the graceful troubleshooting of Integration Builder during development.
Happy Learning!
Follow us on social