In this blog post, we’ll look at how to use Axway’s Integration Builder to create a Gmail connector instance. We will need to create a project in the google developer console in order to get an OAuth API Key and Secret and then enter that in the Integration Builder connector instance setup screen and go through an OAuth flow.
Let’s get started.
Create a Google Application
If you have not already created a project and application, you need one to authenticate with Google. Creating an application is a multi-step process:
- Create a project
- Enable APIs
- Create a web application
Create a project
- Go to Google Developer Console and click on the Project picker and click New Project
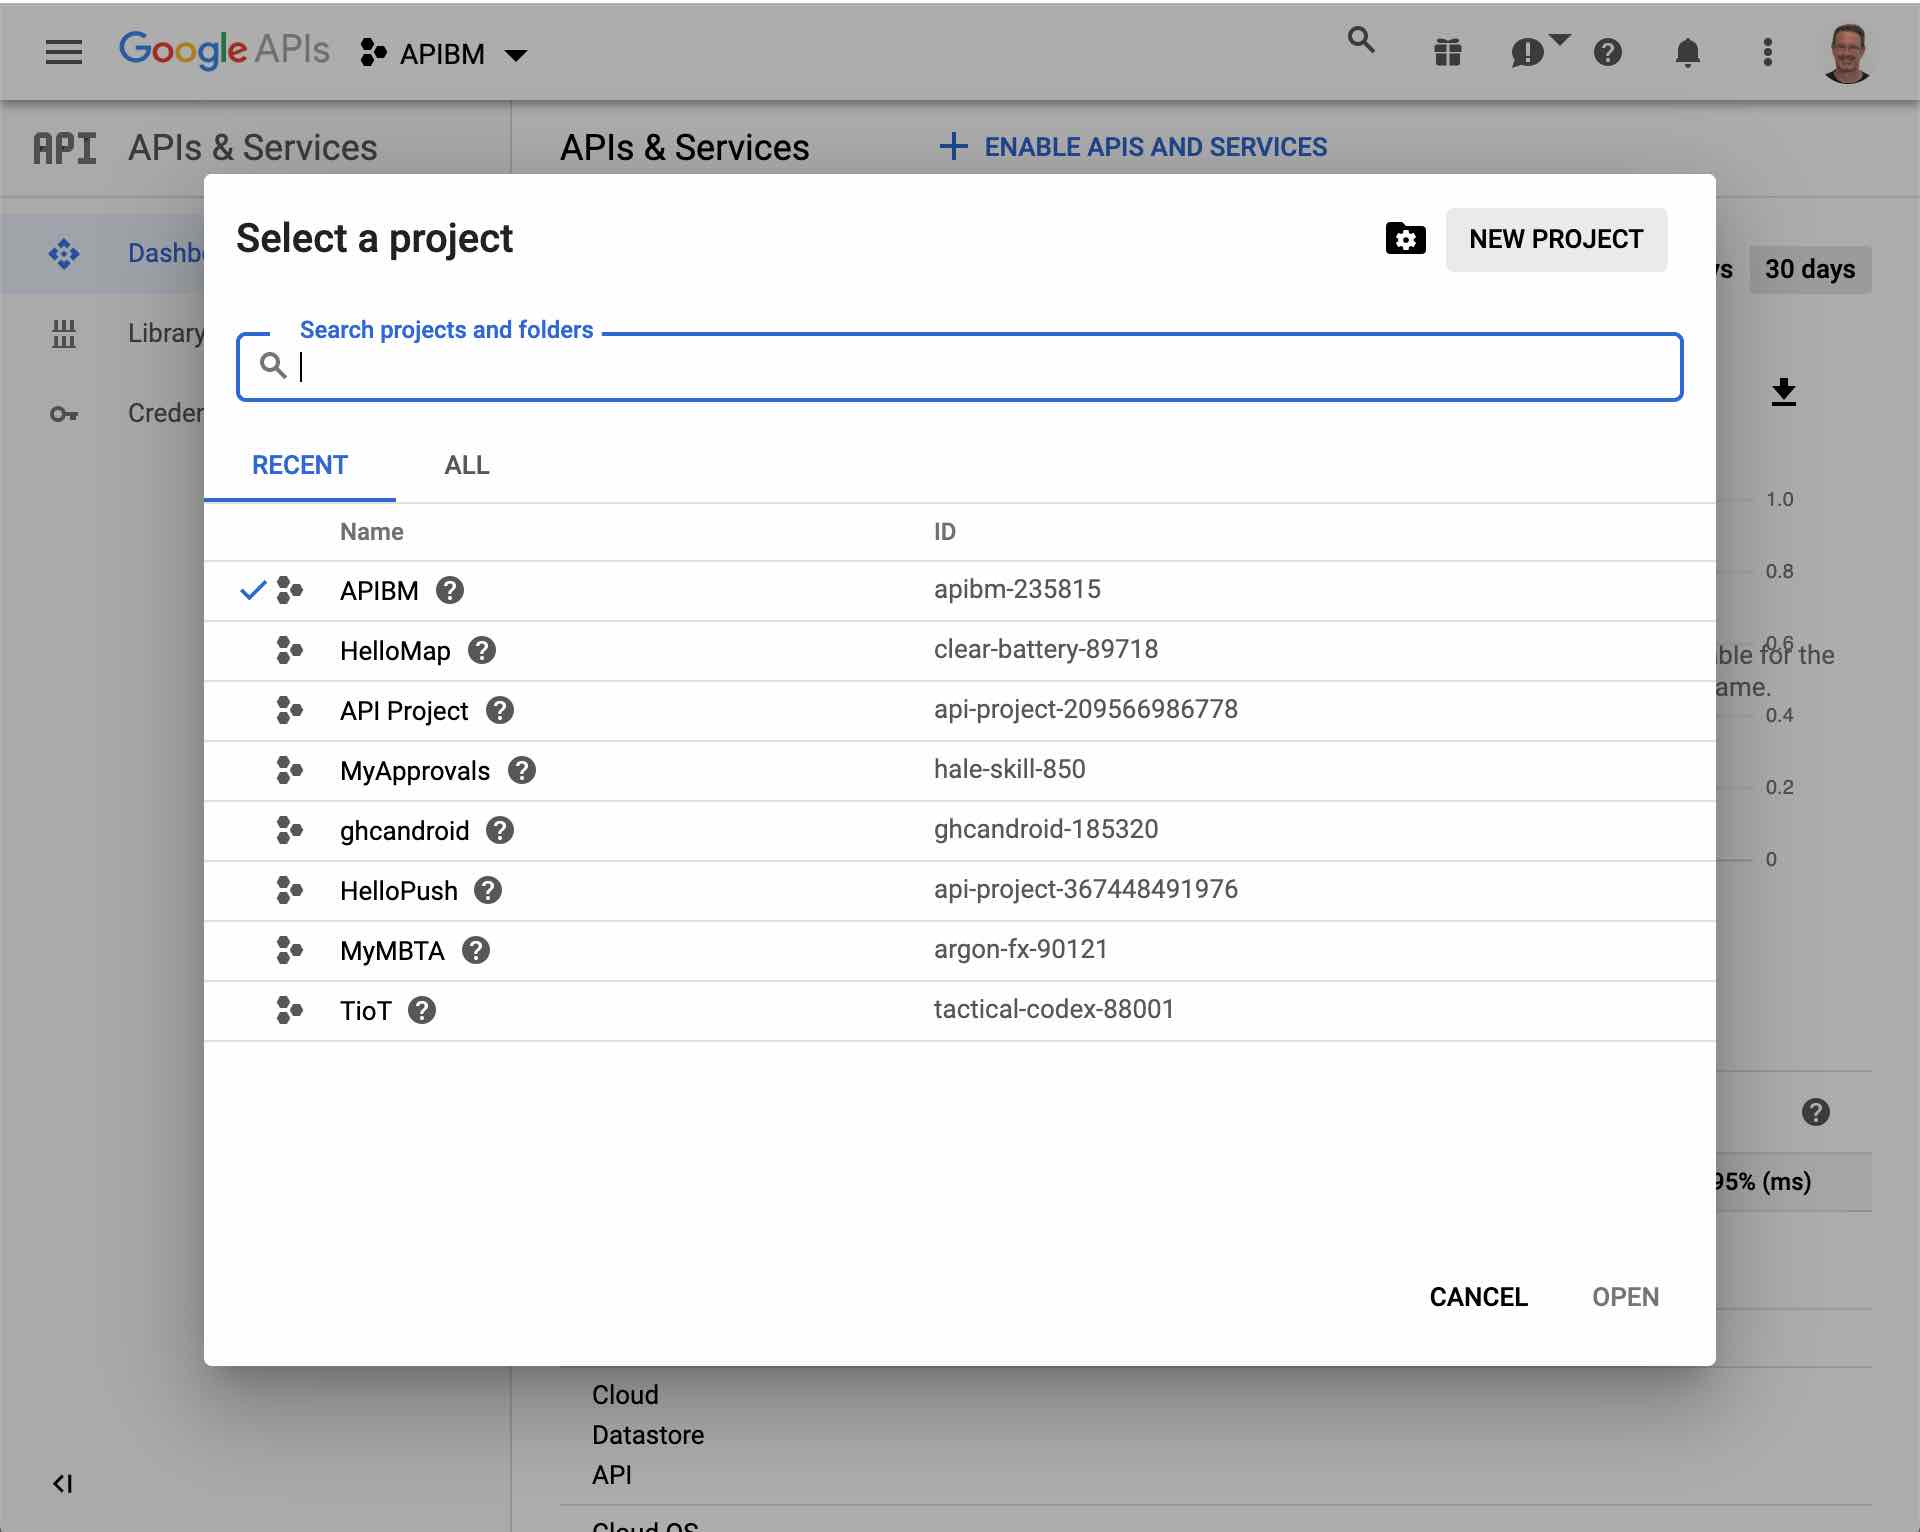
- Give your project a name (e.g. myIBProject) and click Create
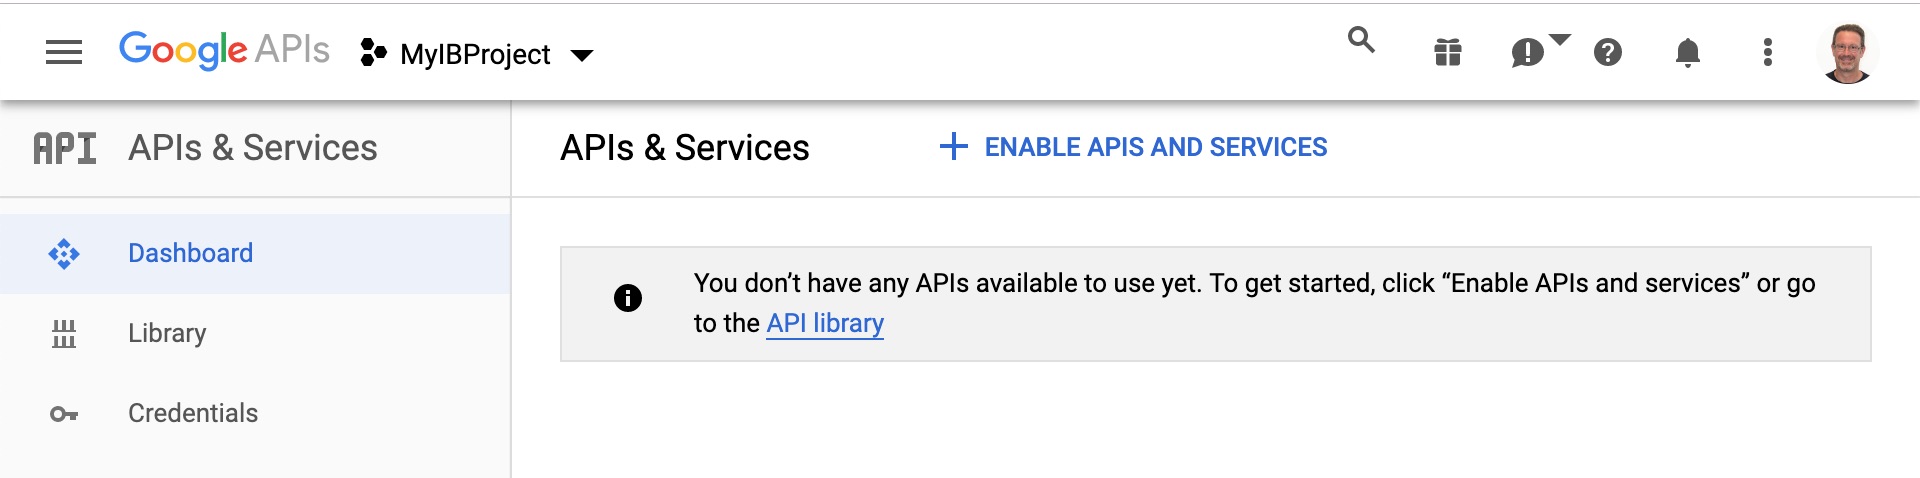
Enable APIs
- Click on Enable APIs and Services
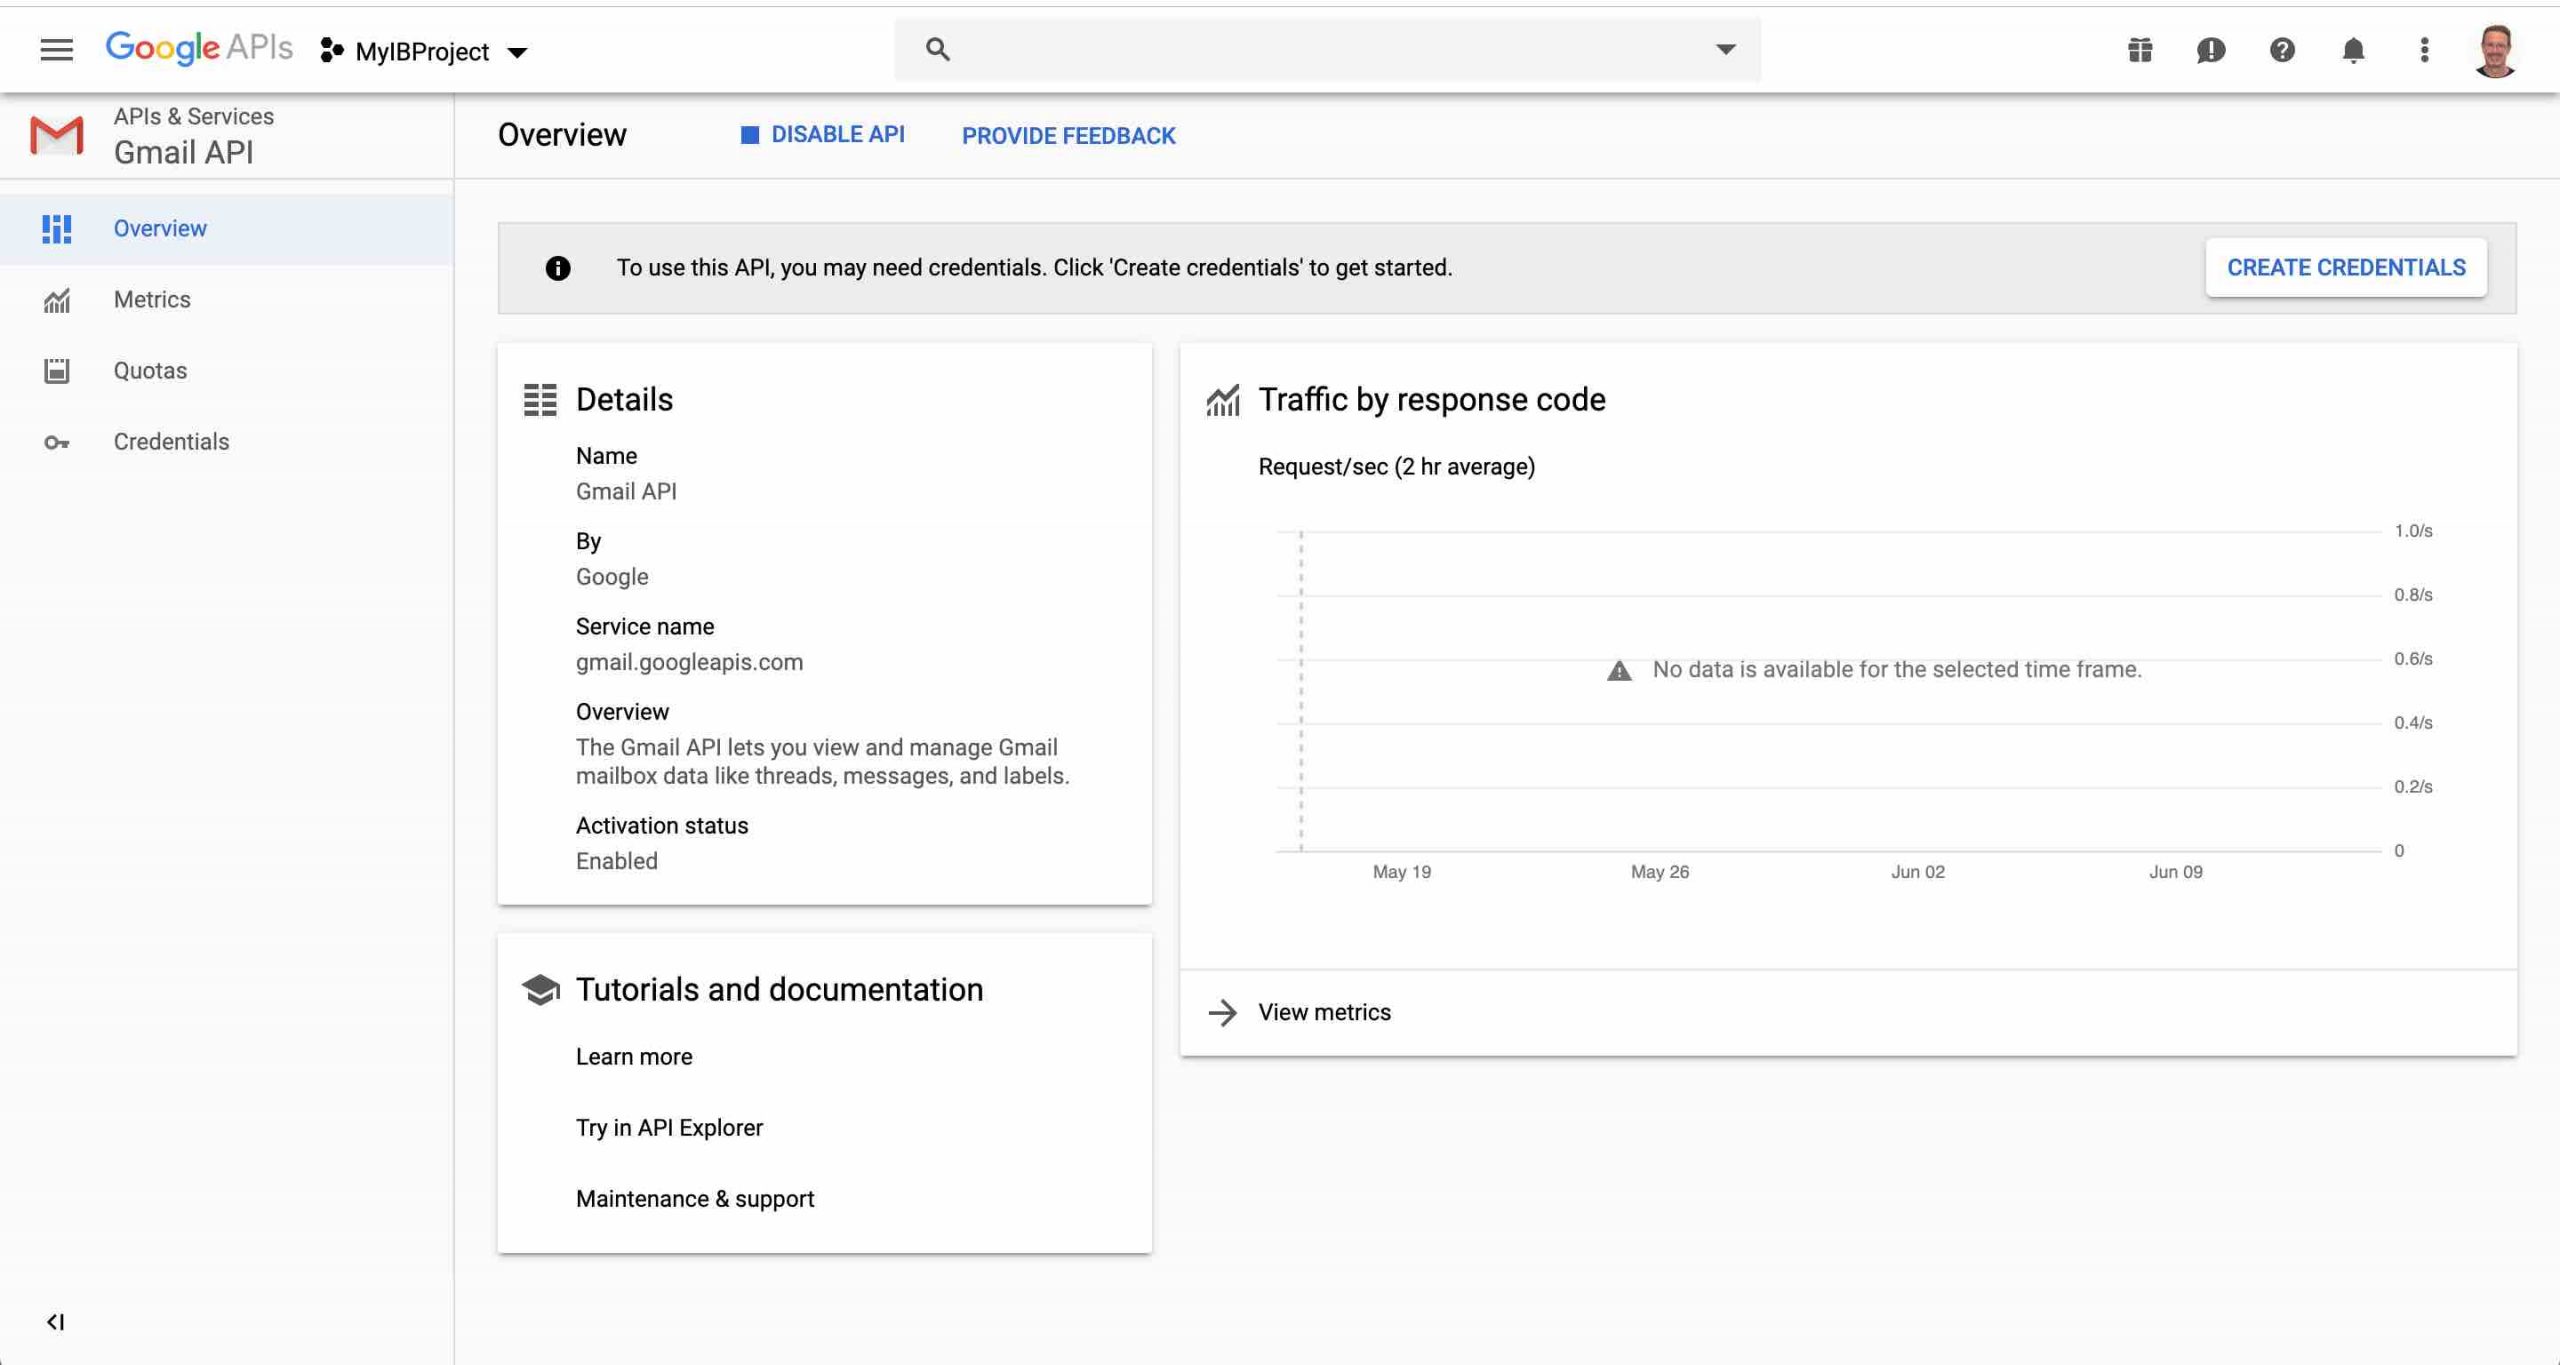
- Search for and enable the Gmail API
Create a Web Application
- Click Credentials on the left menu
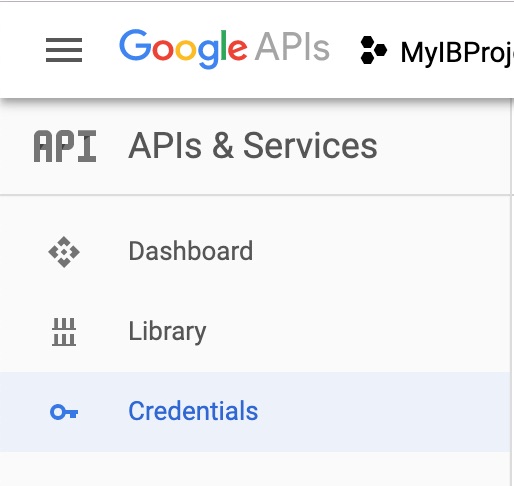
- Click the OAuth consent screen button
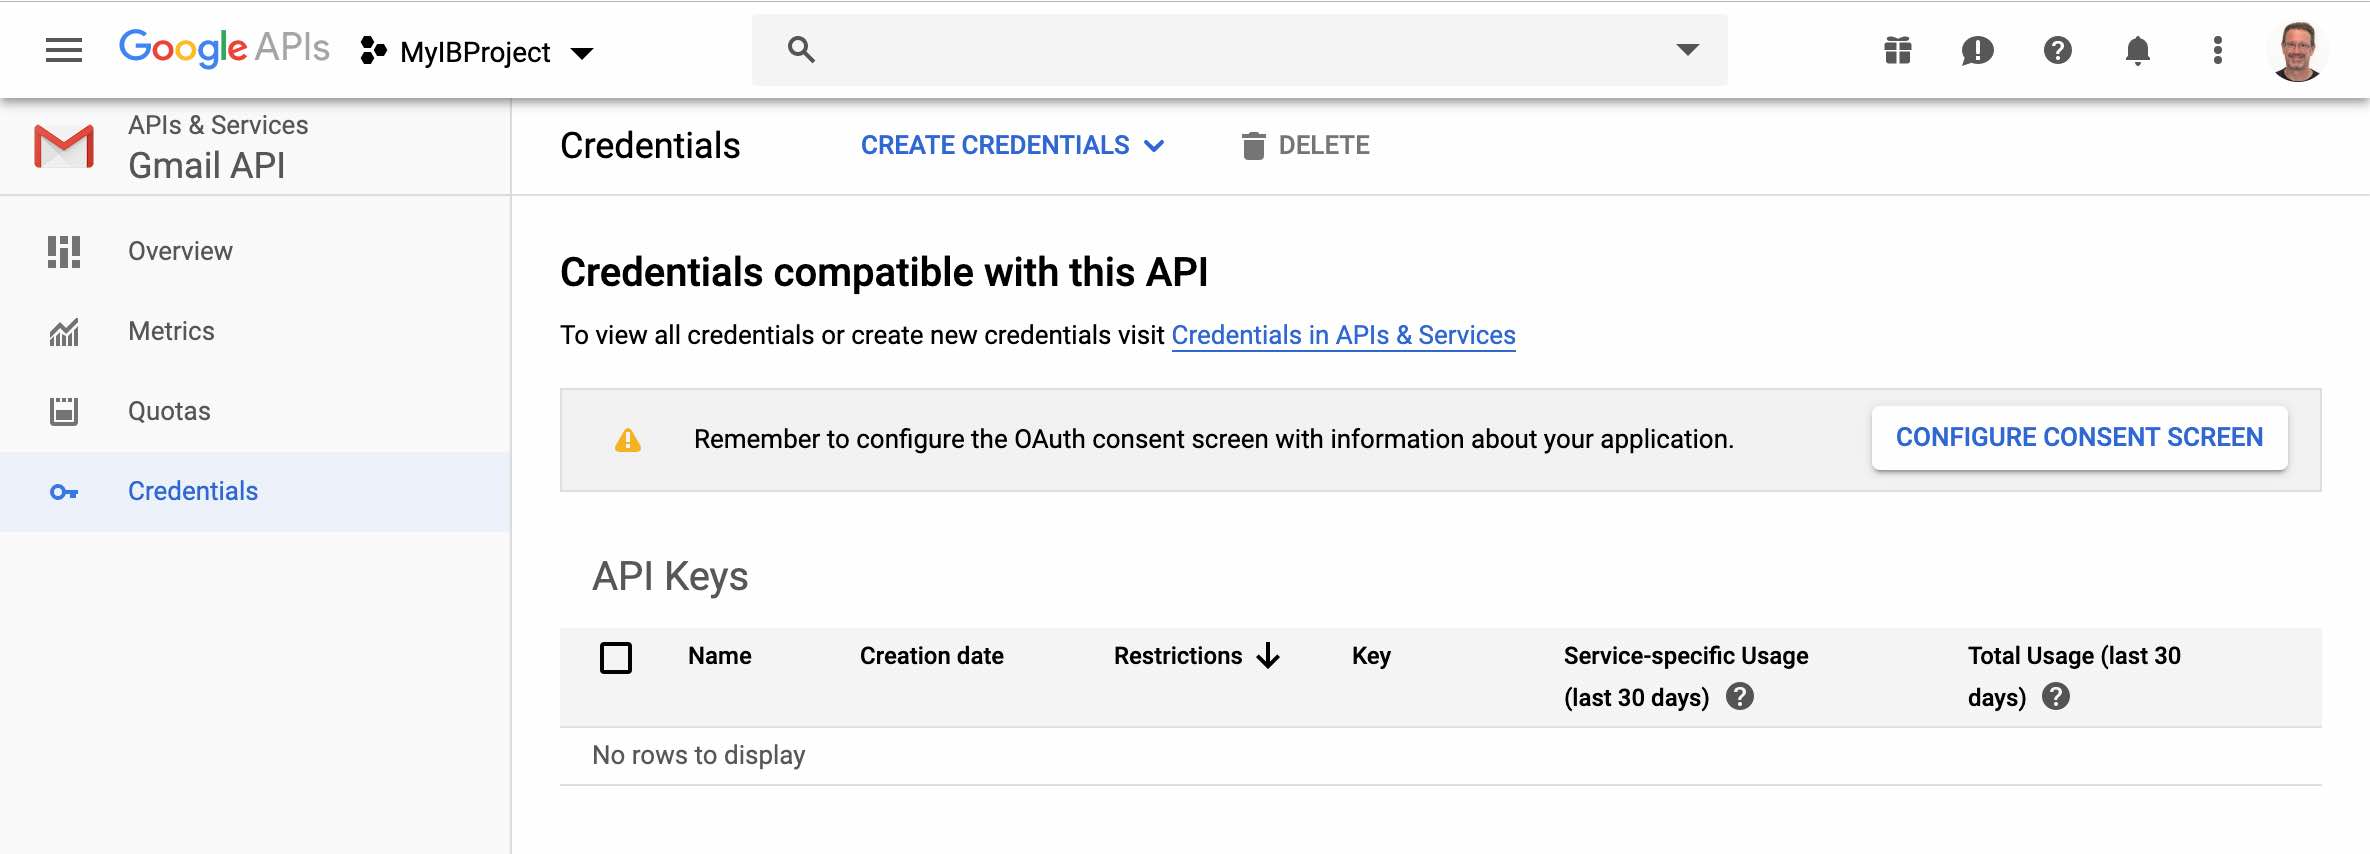
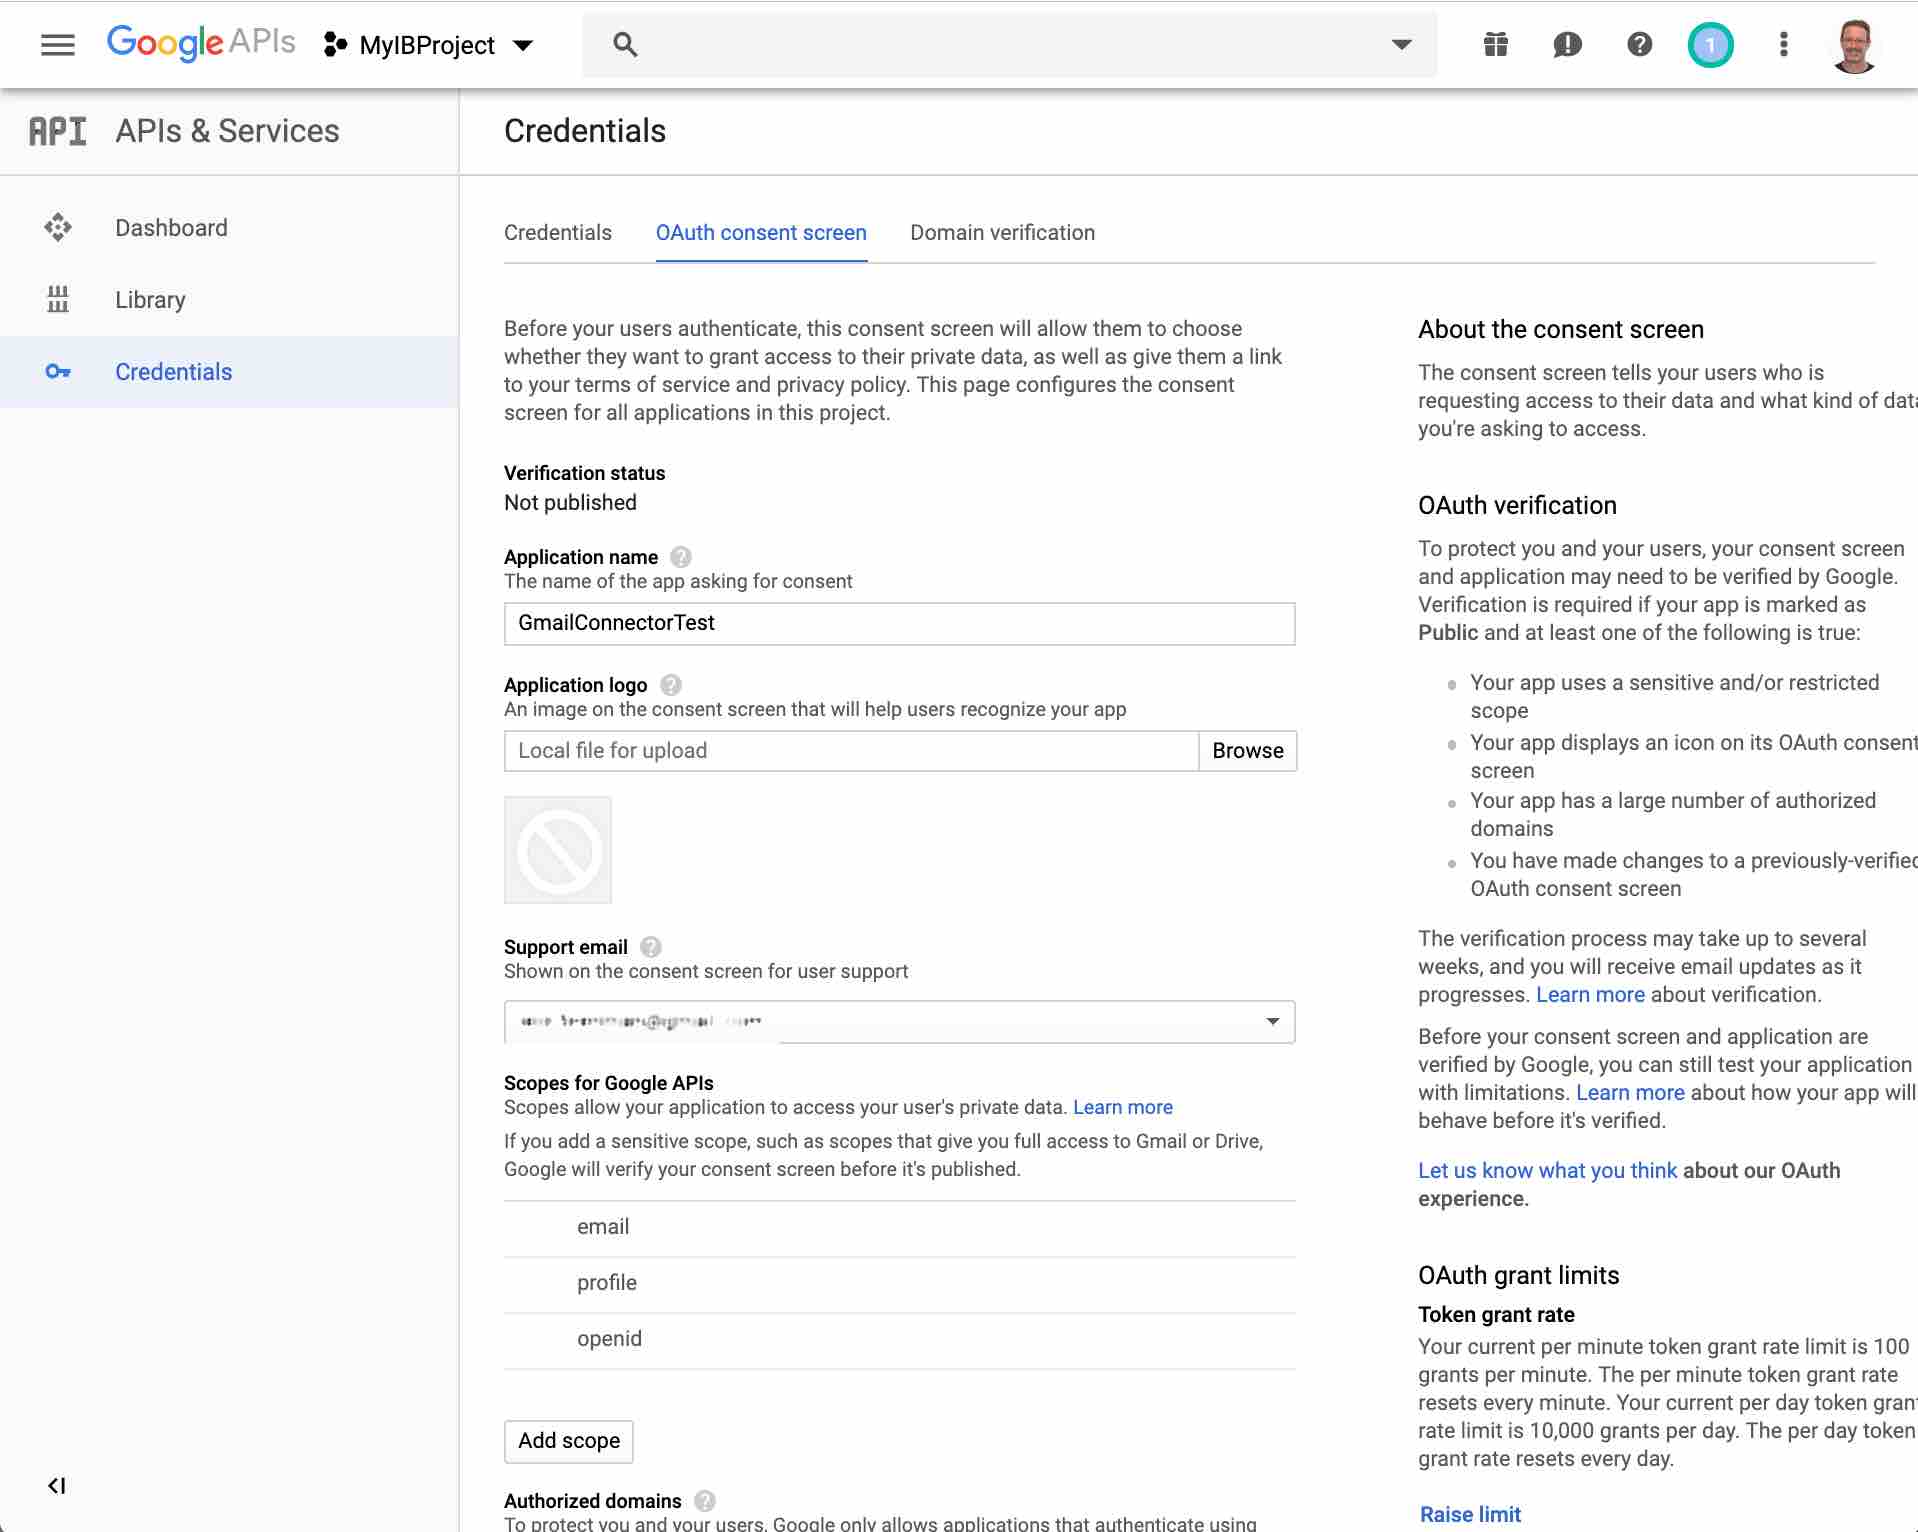
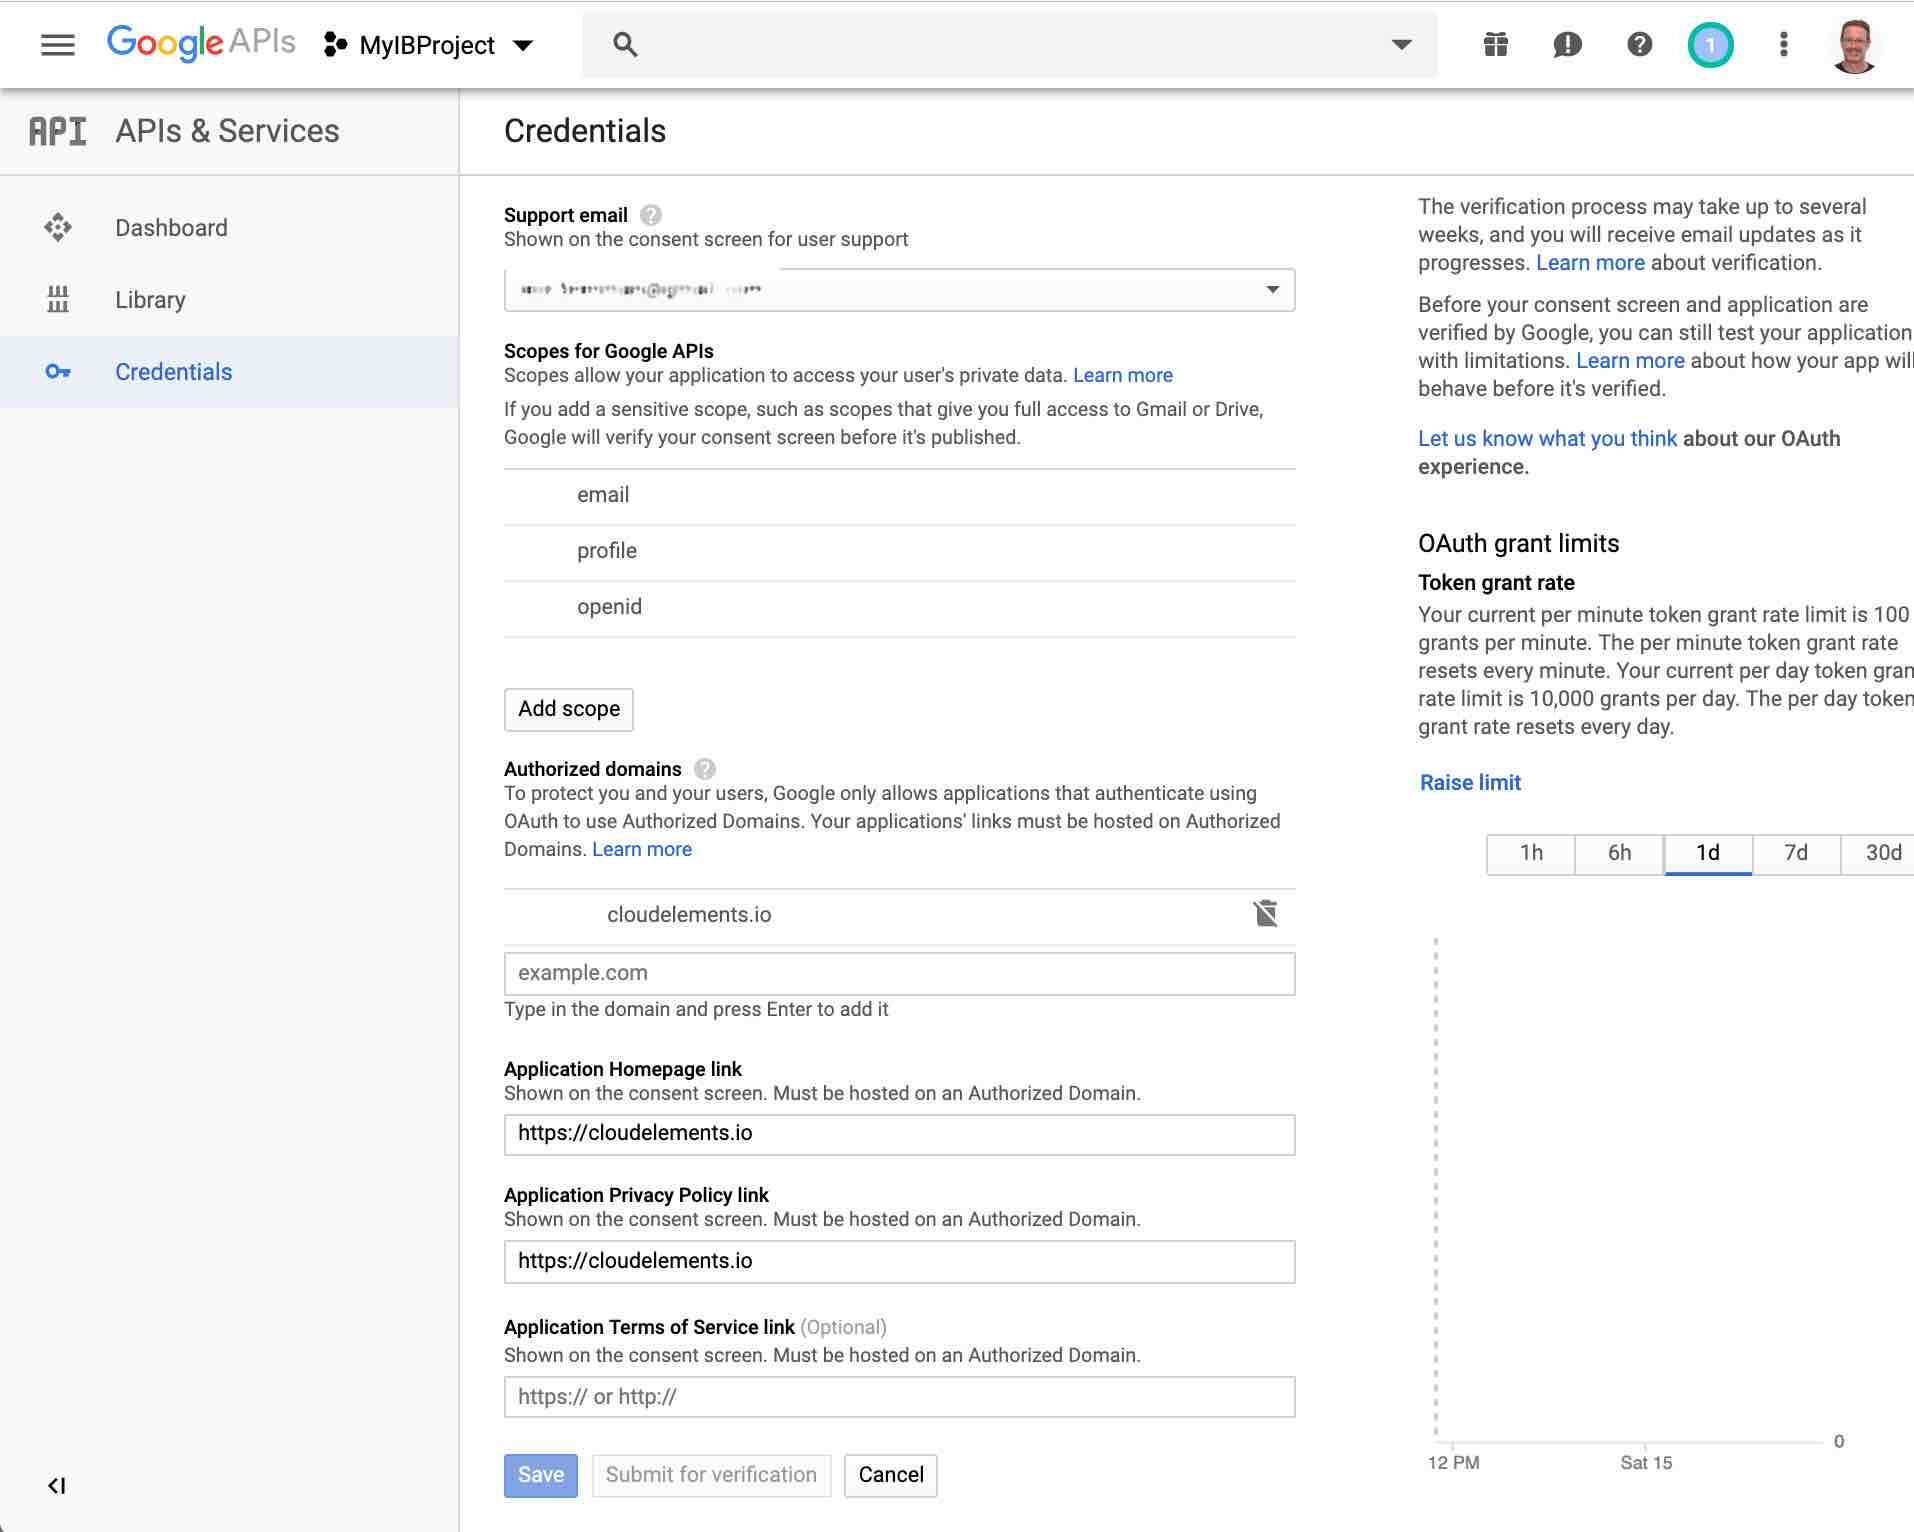
- Enter a Product Name, add cloudelements.io to the Authorized Domains and add any optional information, and then click Save
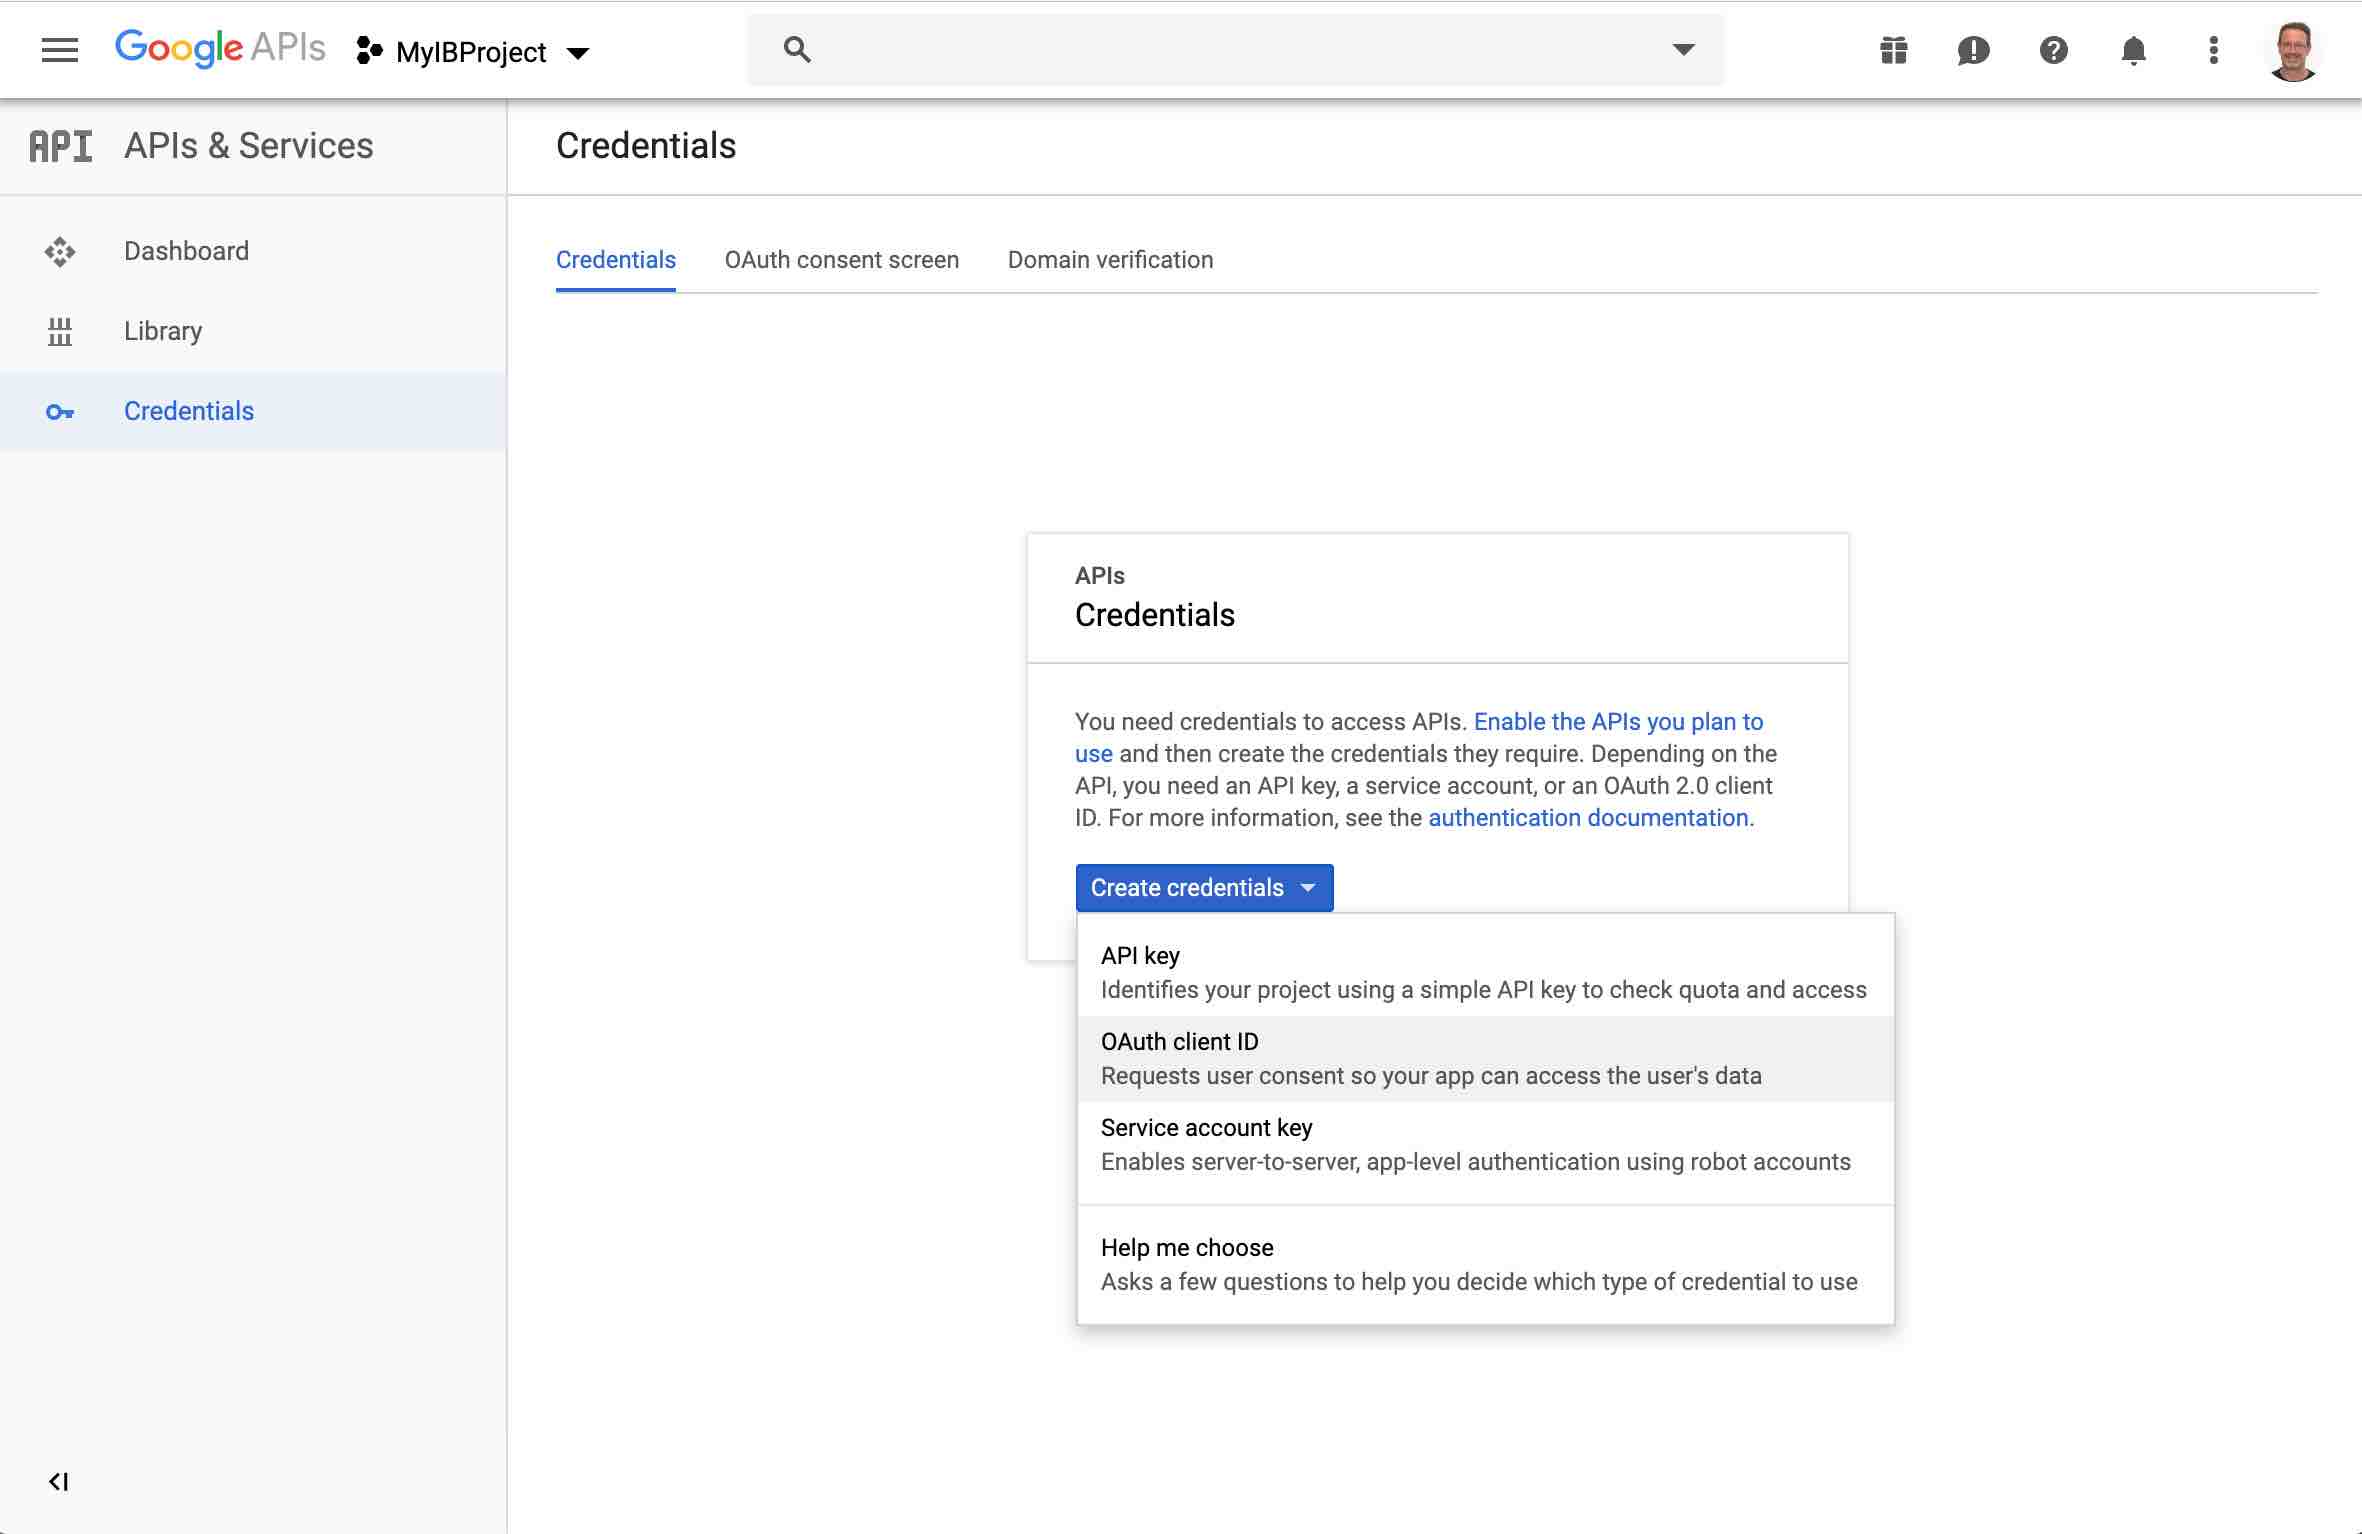
- Click Create Credentials and then select OAuth Client ID
- Select Web application as the Application type
- Enter a Name and the Authorized redirect URI, https://auth.cloudelements.io/oauth, for your app and press tab.
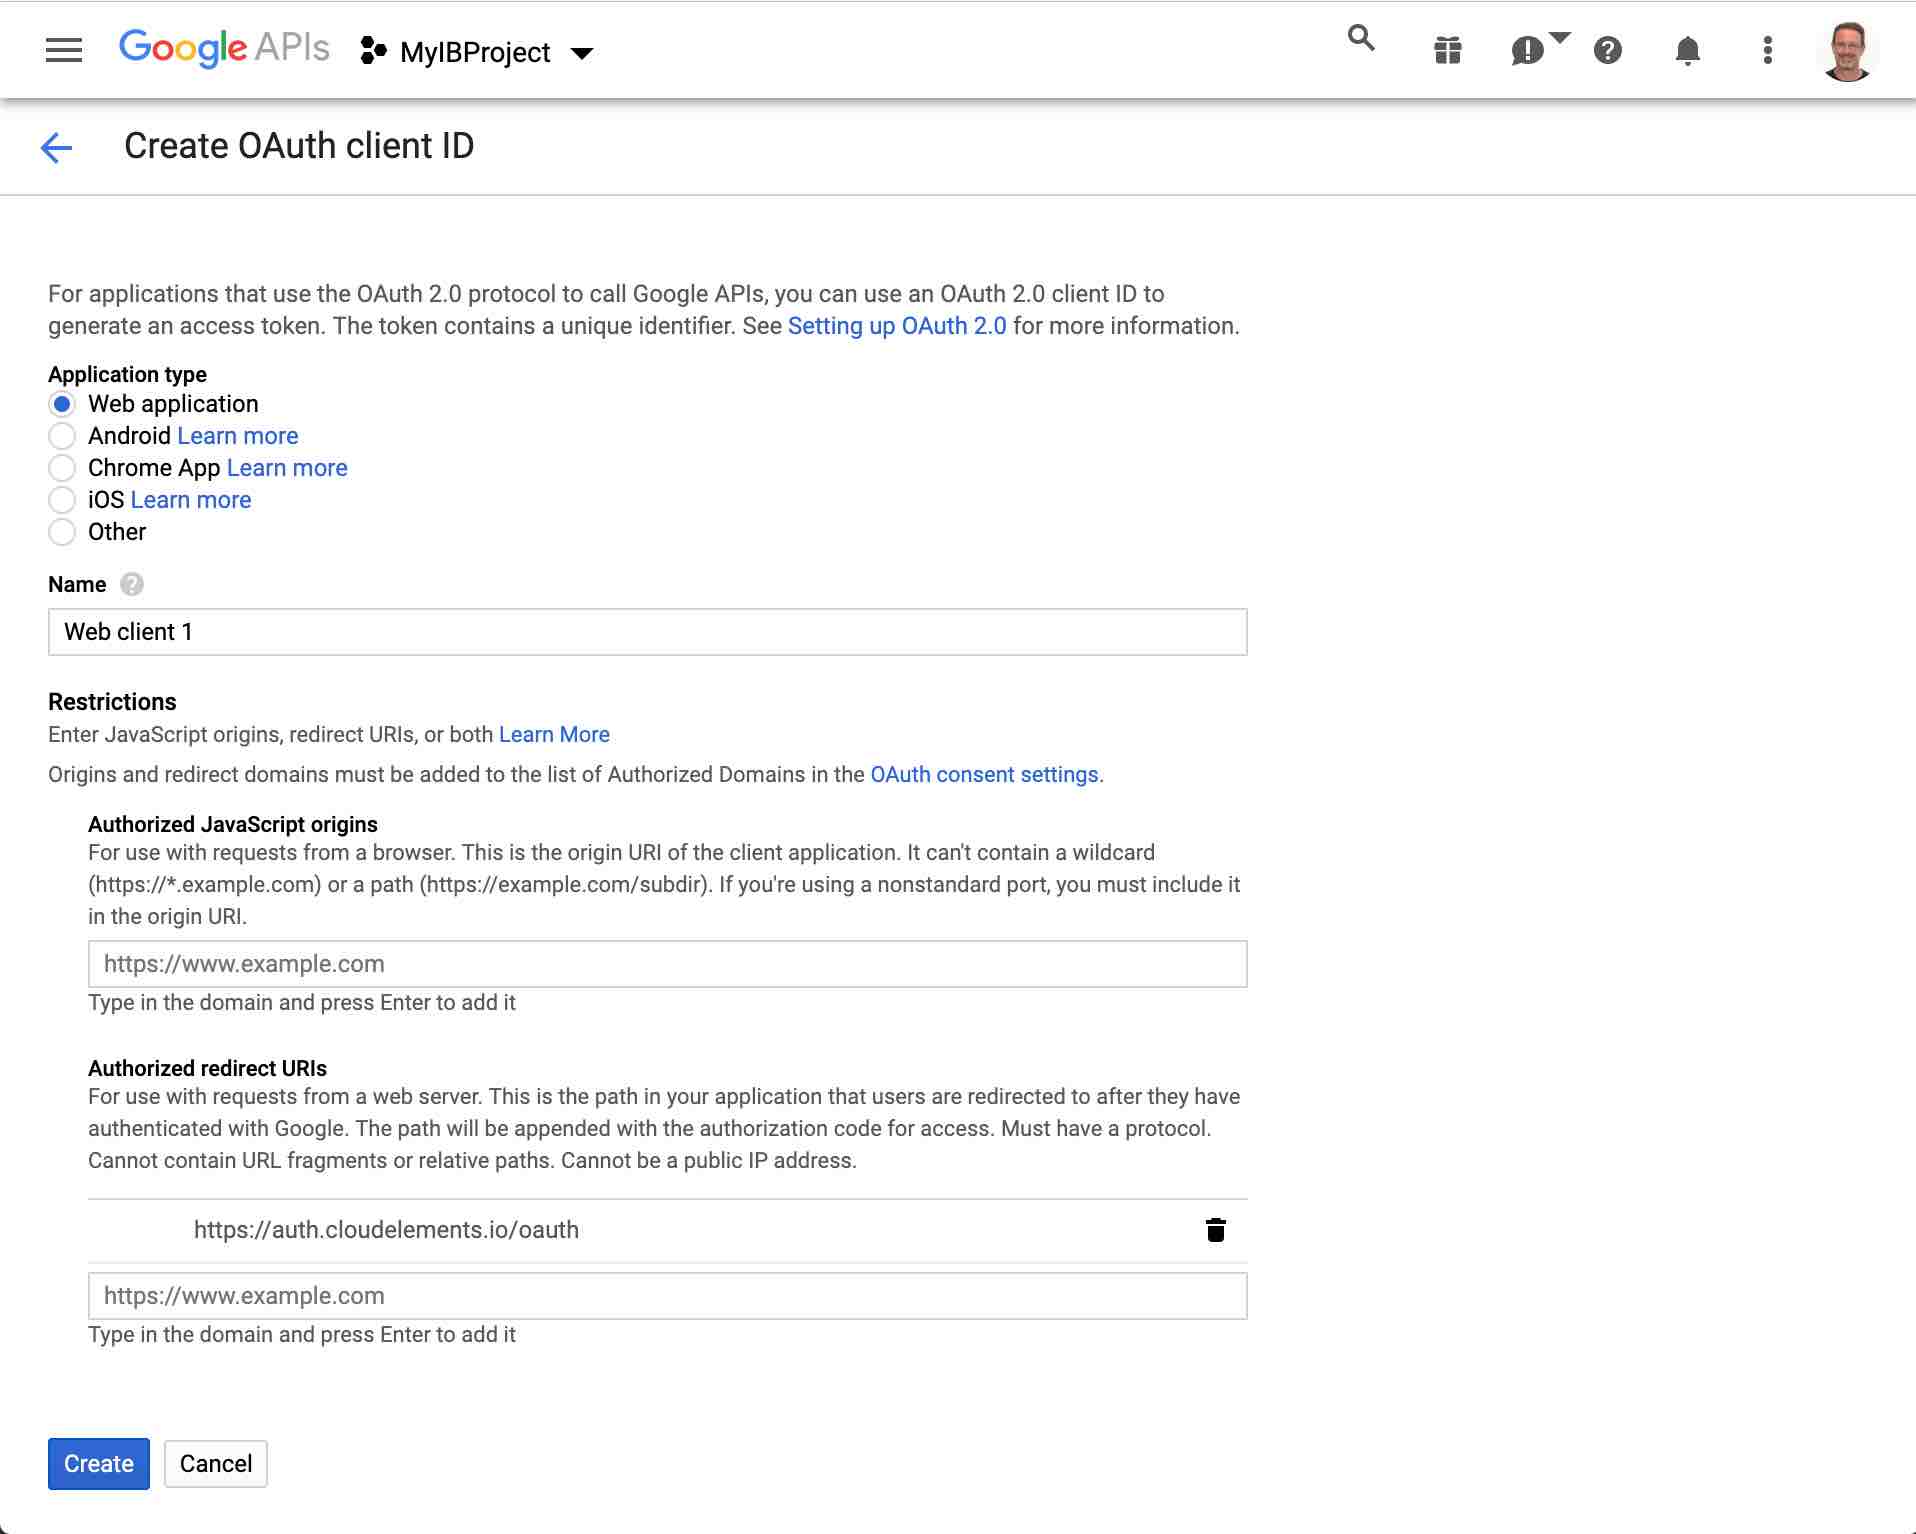
Note that the redirect URI (OAuth Callback URL) for Integration Builder is described here
- Click Create
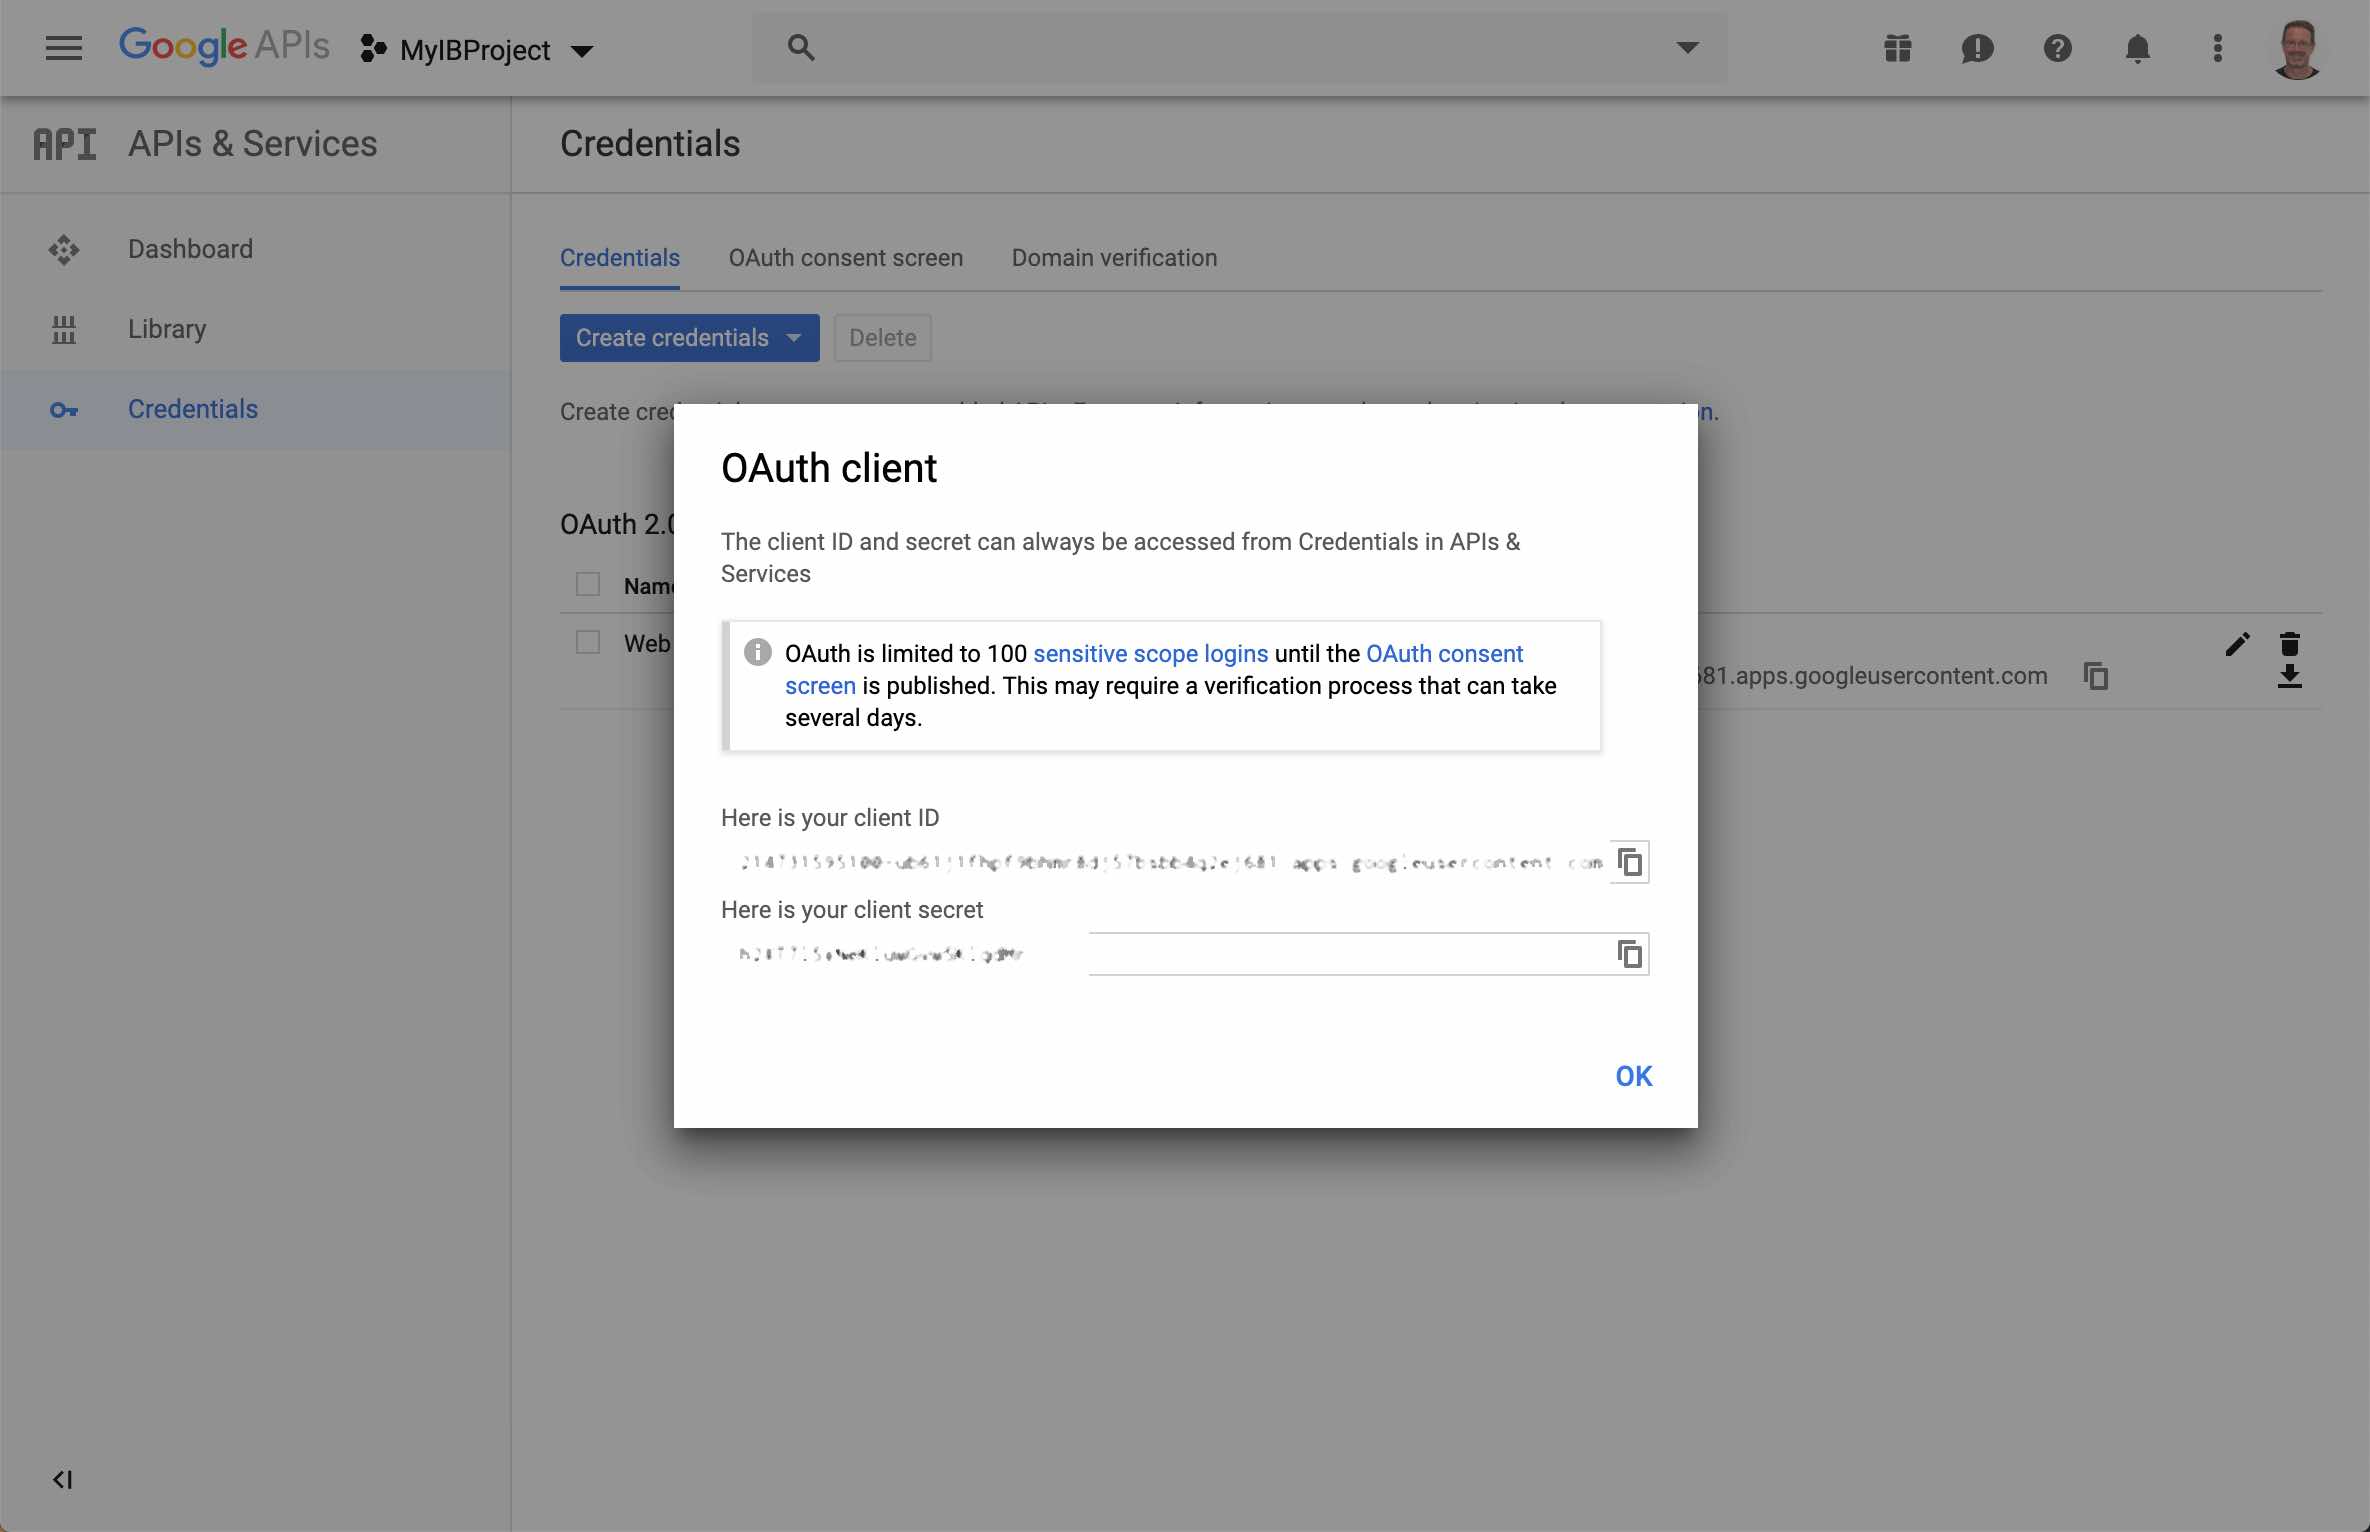
- Note the Client ID and Client secret. You will need this for when you authenticate the Connector in Integration Builder. Press OK.
Create an Integration Builder Gmail Connector Instance
- Go to Integration Builder and find the Gmail Connector and click on Authenticate
- Provide a name for your connector instance and click on Show Optional Fields
- Enter the Client ID and Client secret in the OAuth API Key and OAuth API Secret fields
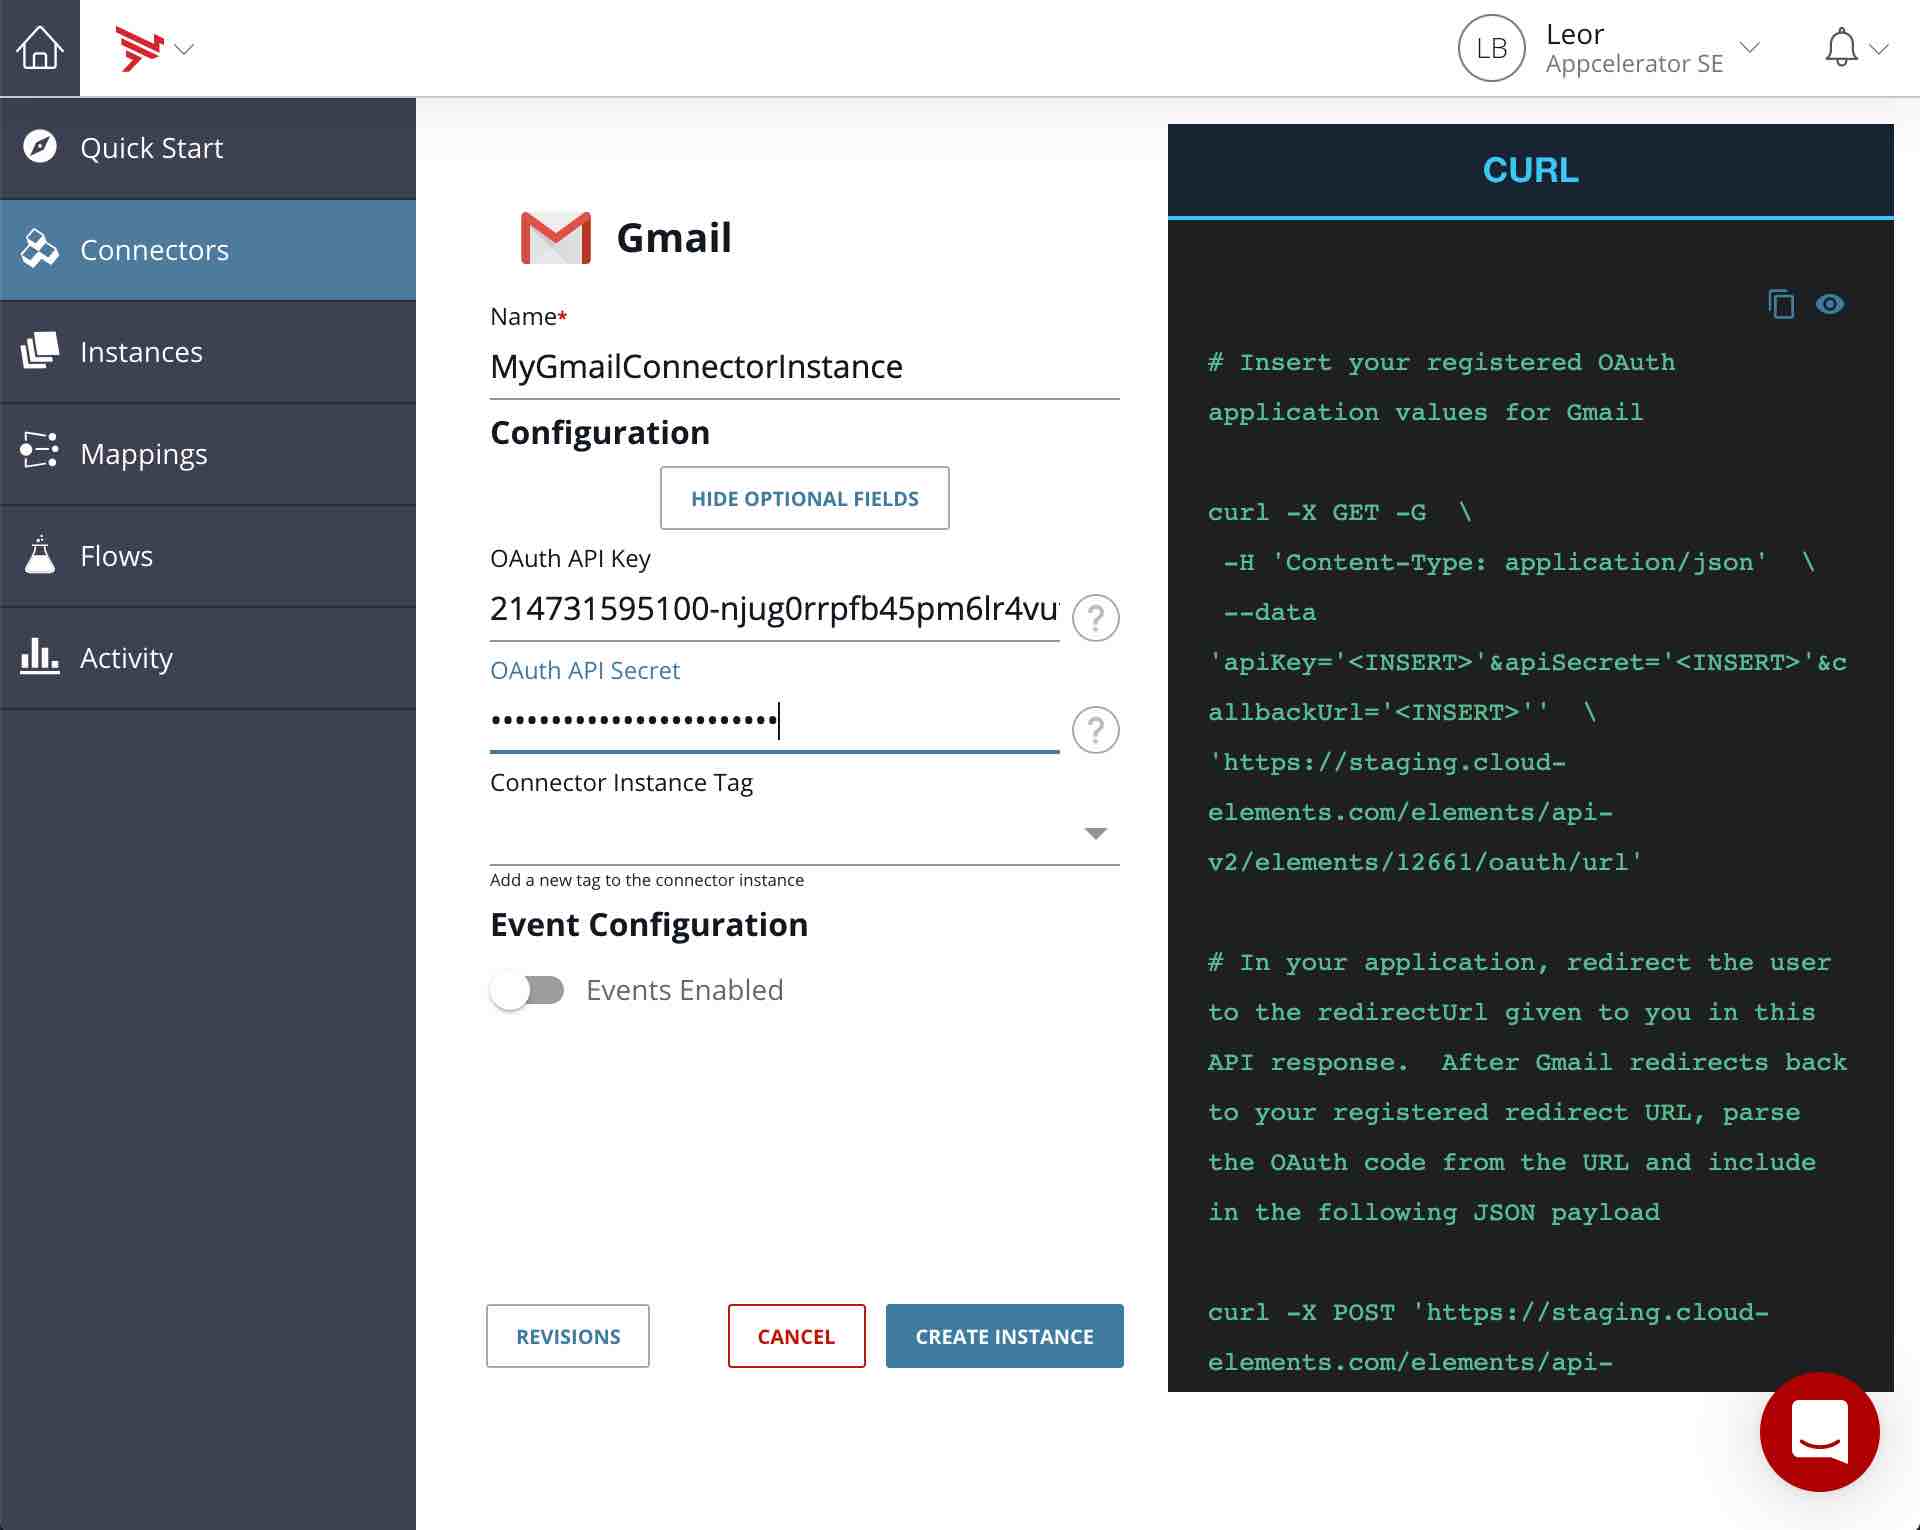
- Click on Create Instance
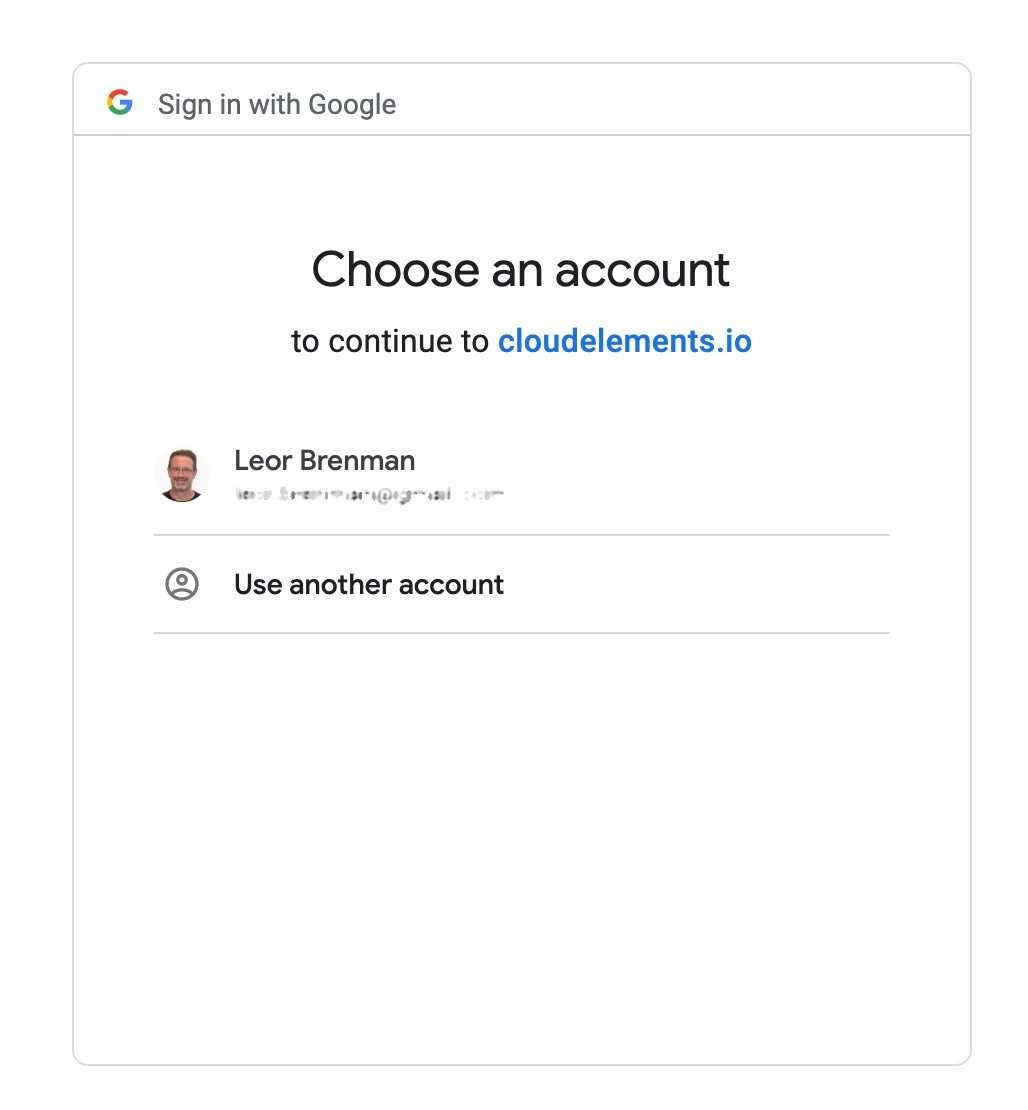
- A new browser tab should open with a dialog asking you to select the Gmail user you’d like to connect with. Select the user.
- You may get a This app isn’t verified warning. Click the Advanced link and click on the Go To … link.
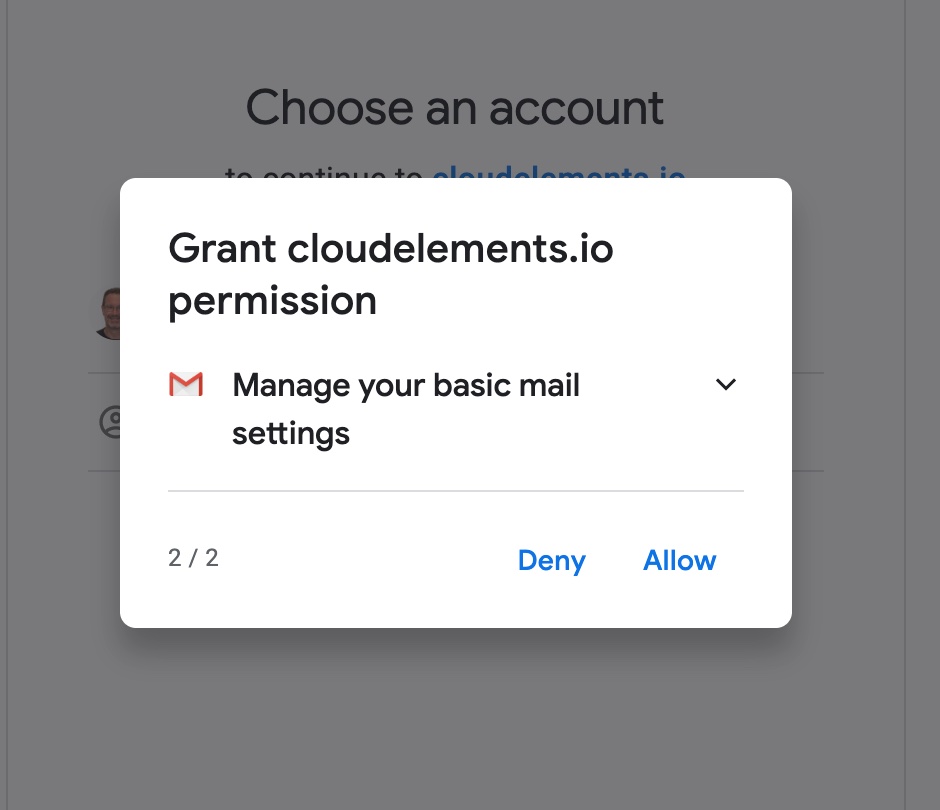
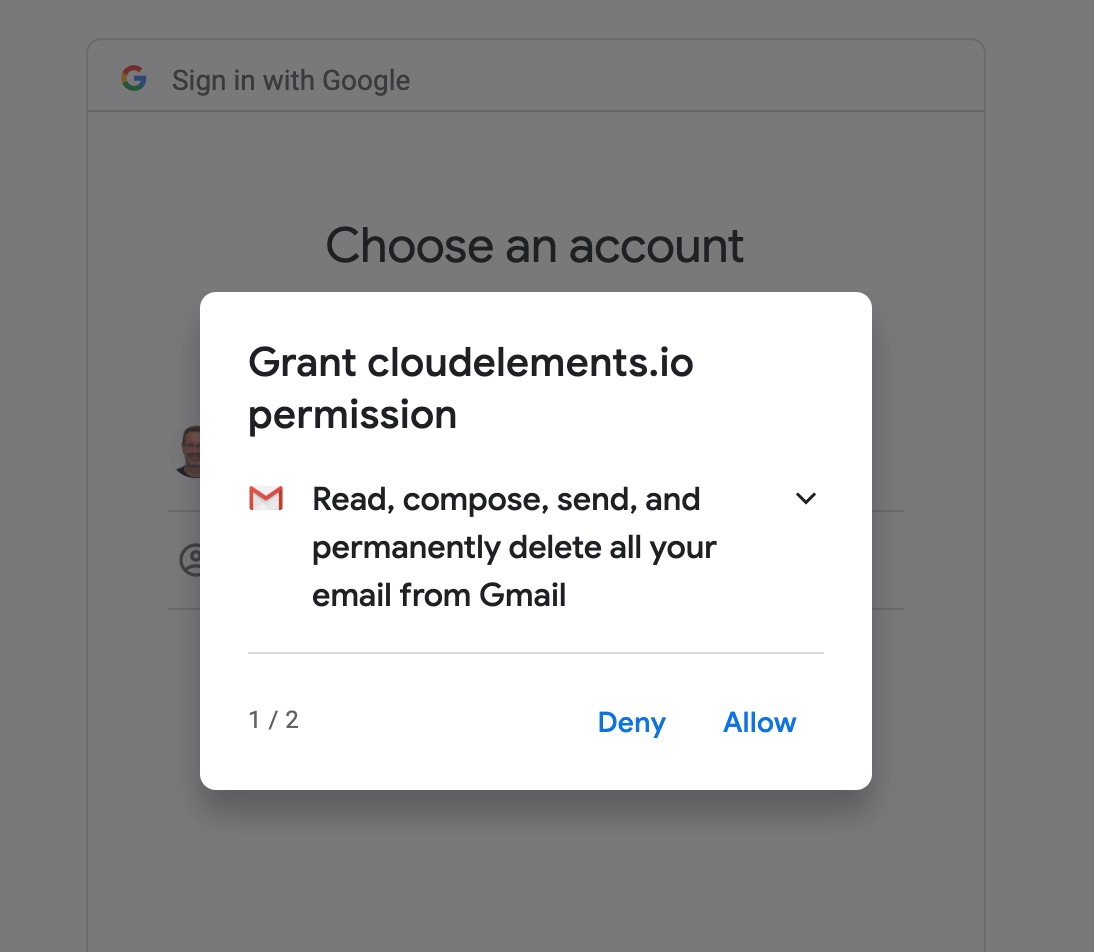
- Click Allow in the next 2 popups
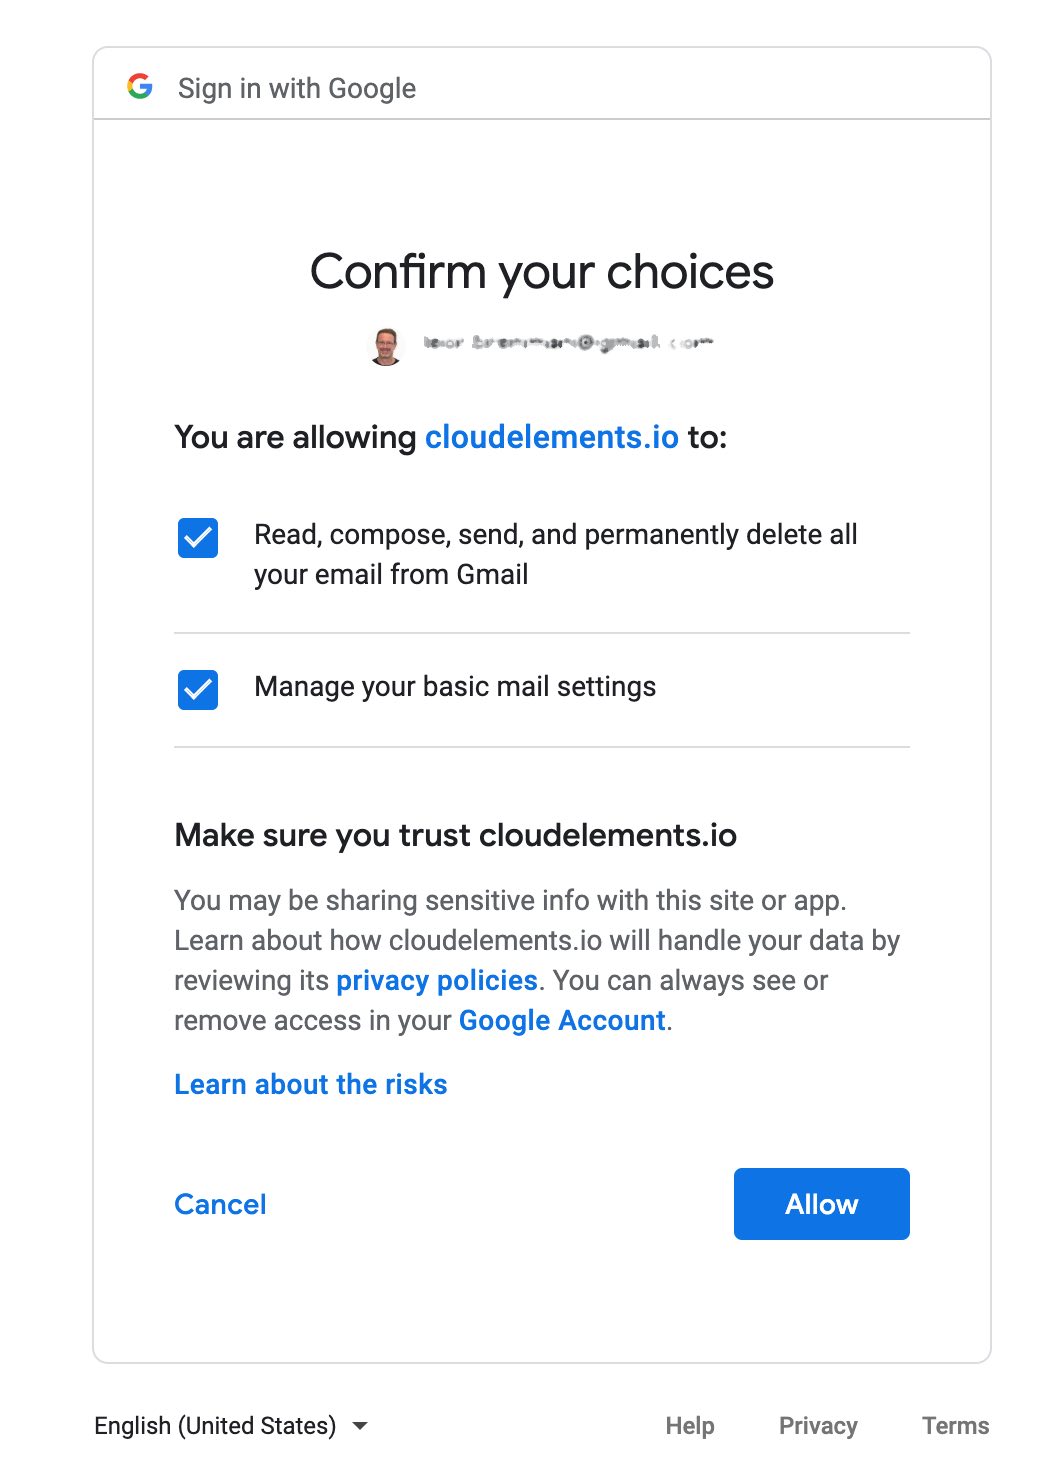
- Click Allow in the last screen
- The browser tab should close and you can see the connector instance screen below
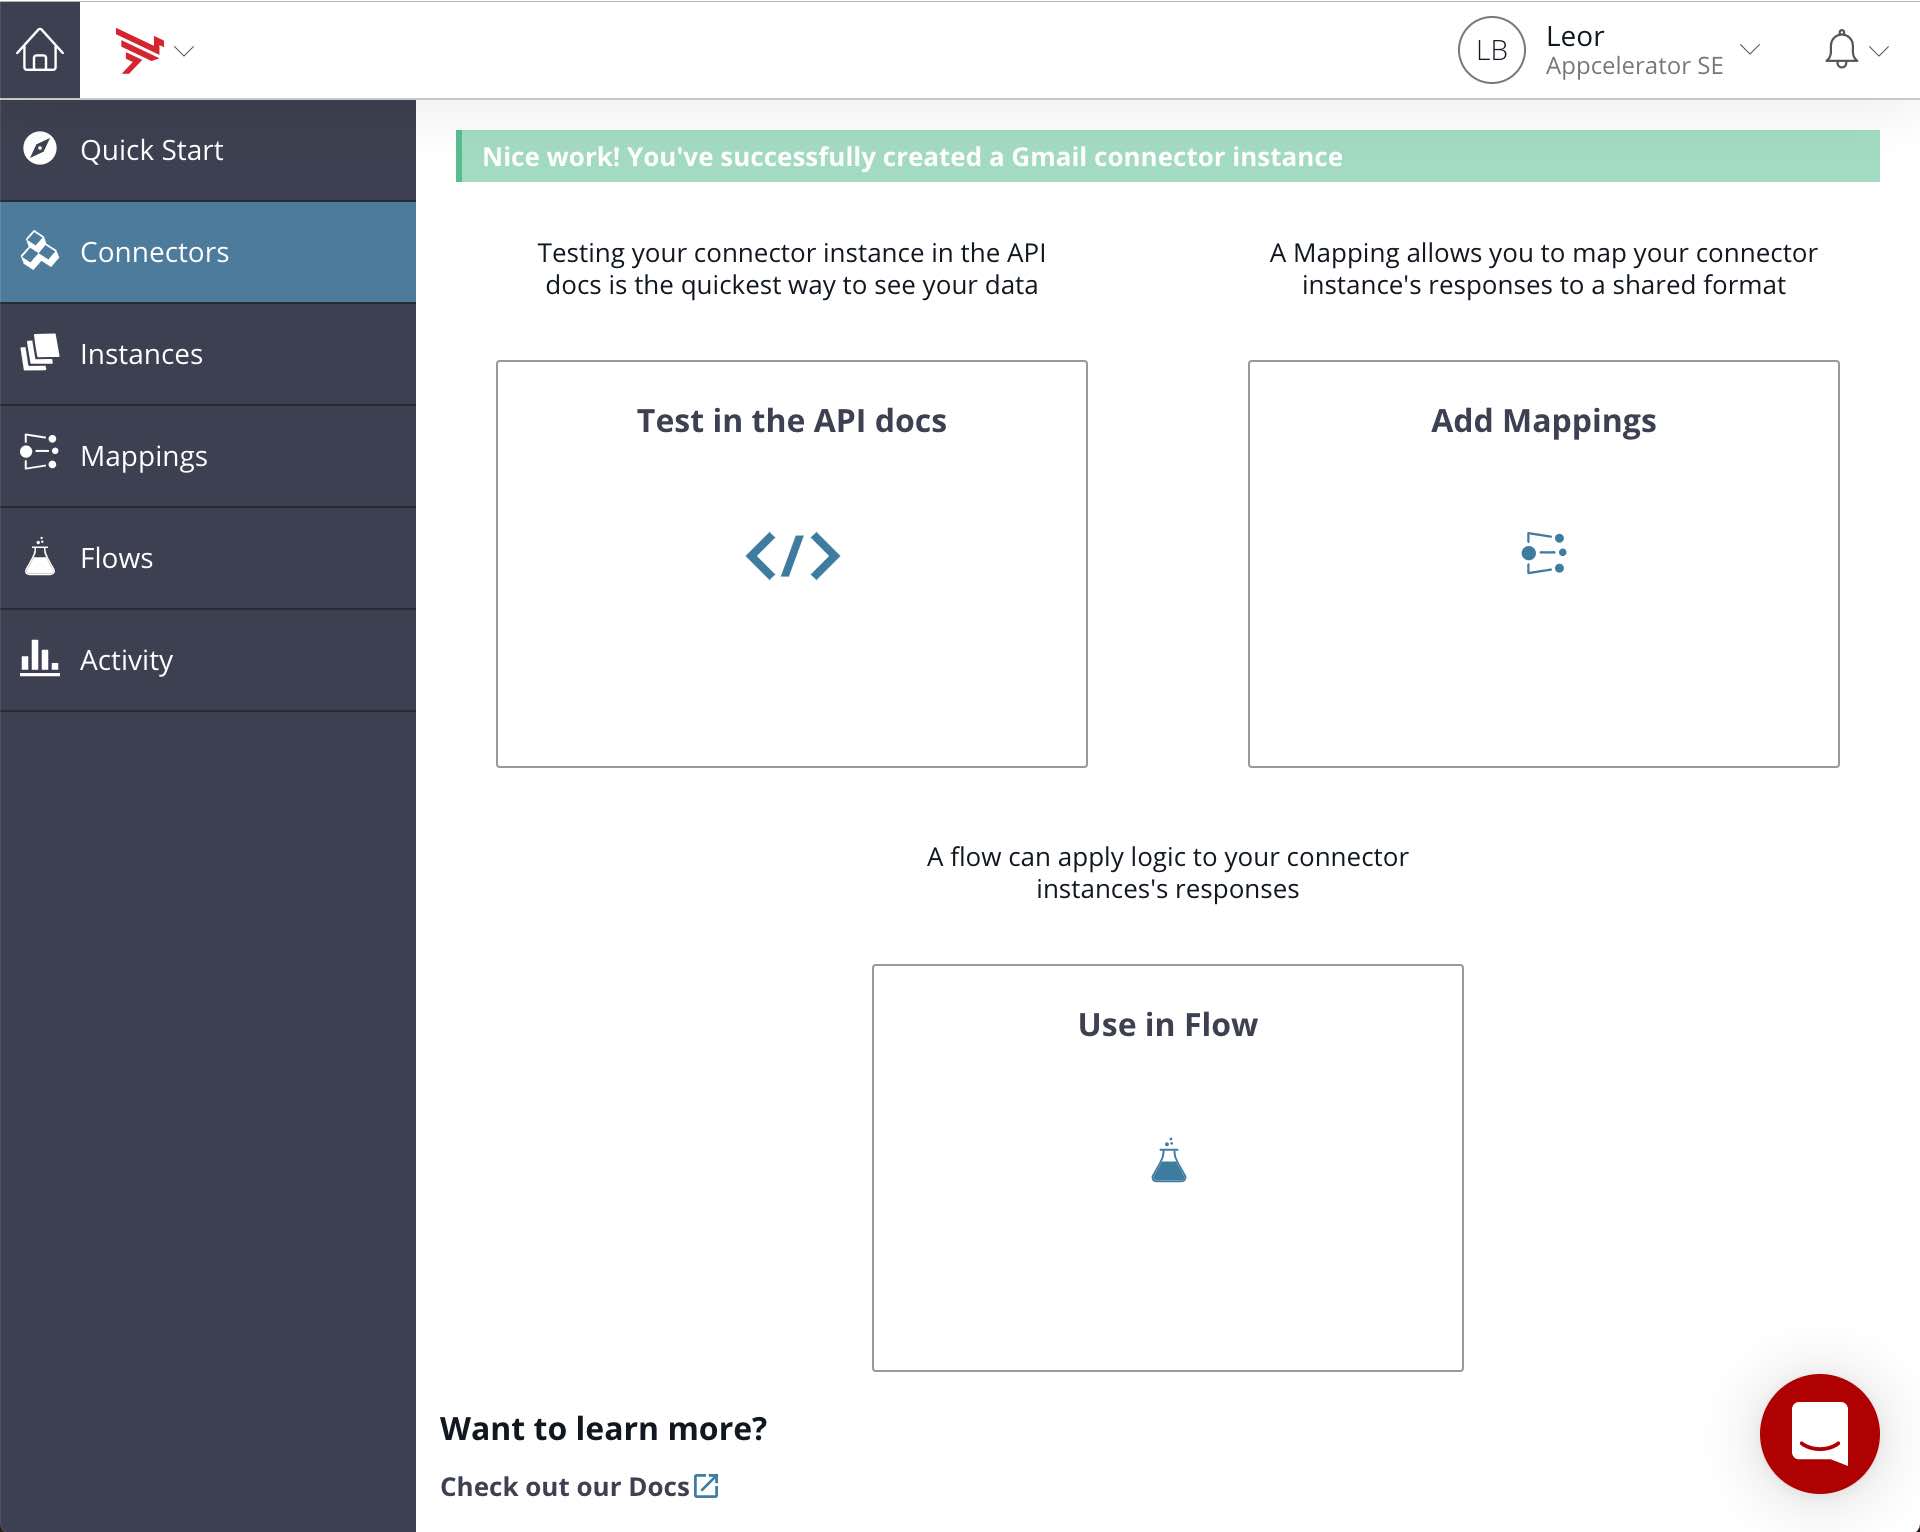
Test Your new Gmail Connector
- Click on the Test in the API docs tile
- Scroll down to the GET /messages API, click Try it out and then click on Execute to get a list of message IDs
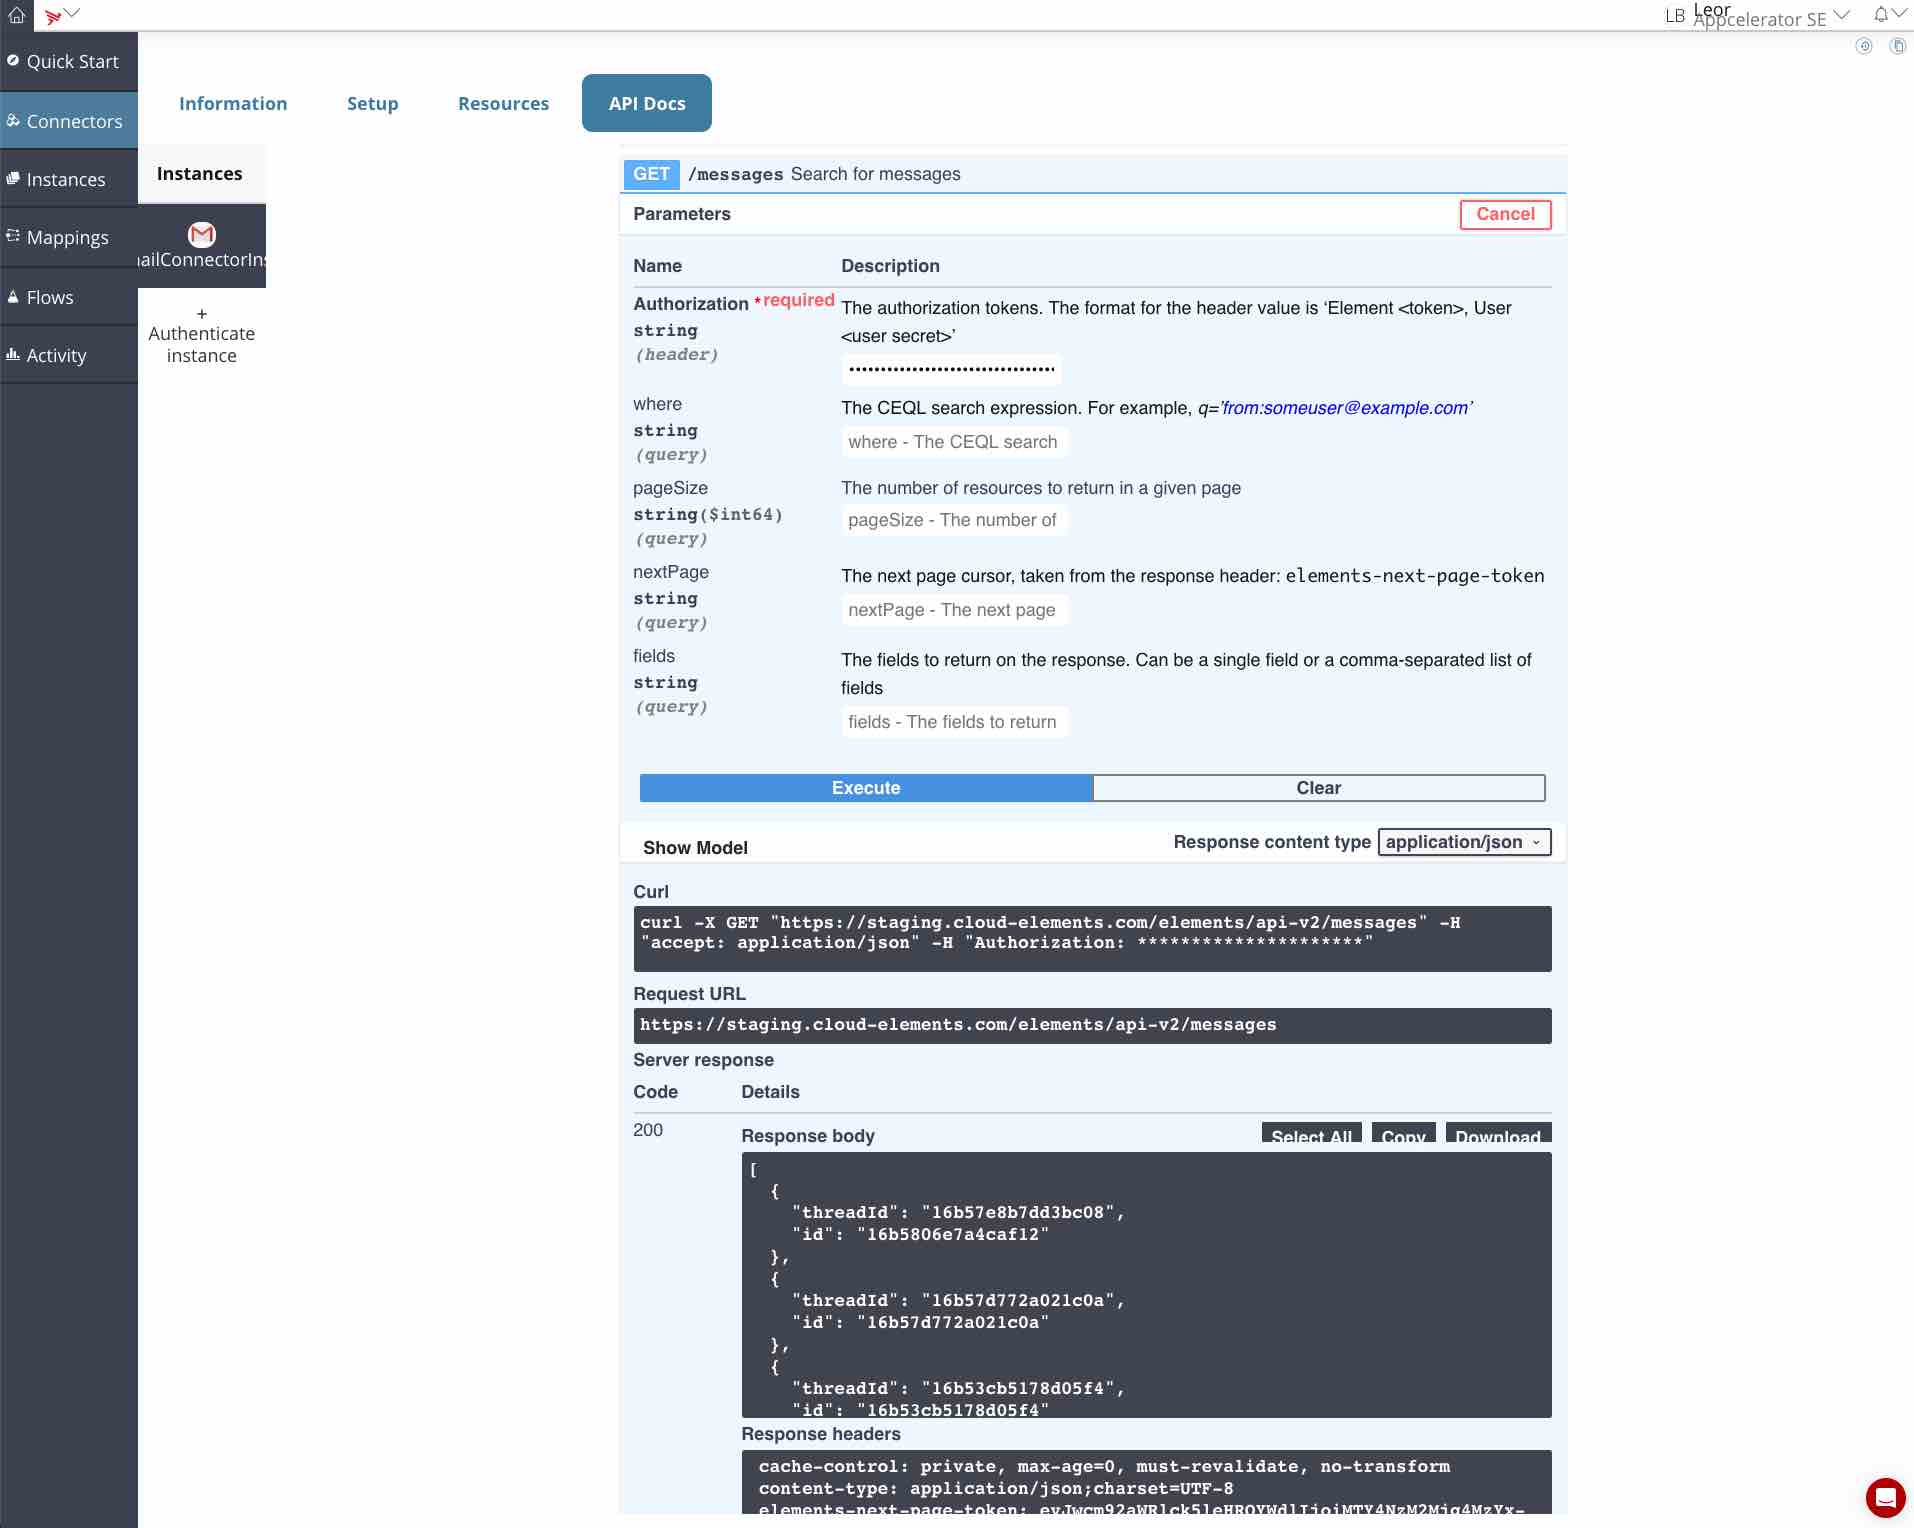
Your result should look similar to the following:
[
  {
    "threadId": "16b57e8b7dd3bc08",
    "id": "16b5806e7a4caf12"
  },
  {
    "threadId": "16b57d772a021c0a",
    "id": "16b57d772a021c0a"
  },
  {...
  {
    "threadId": "16a206bbcd29c25b",
    "id": "16a206bbcd29c25b"
  }
]
- Scroll down to the GET /messages/{id} API, click Try it out, enter an id from above and then click on Execute to get the contents of the message
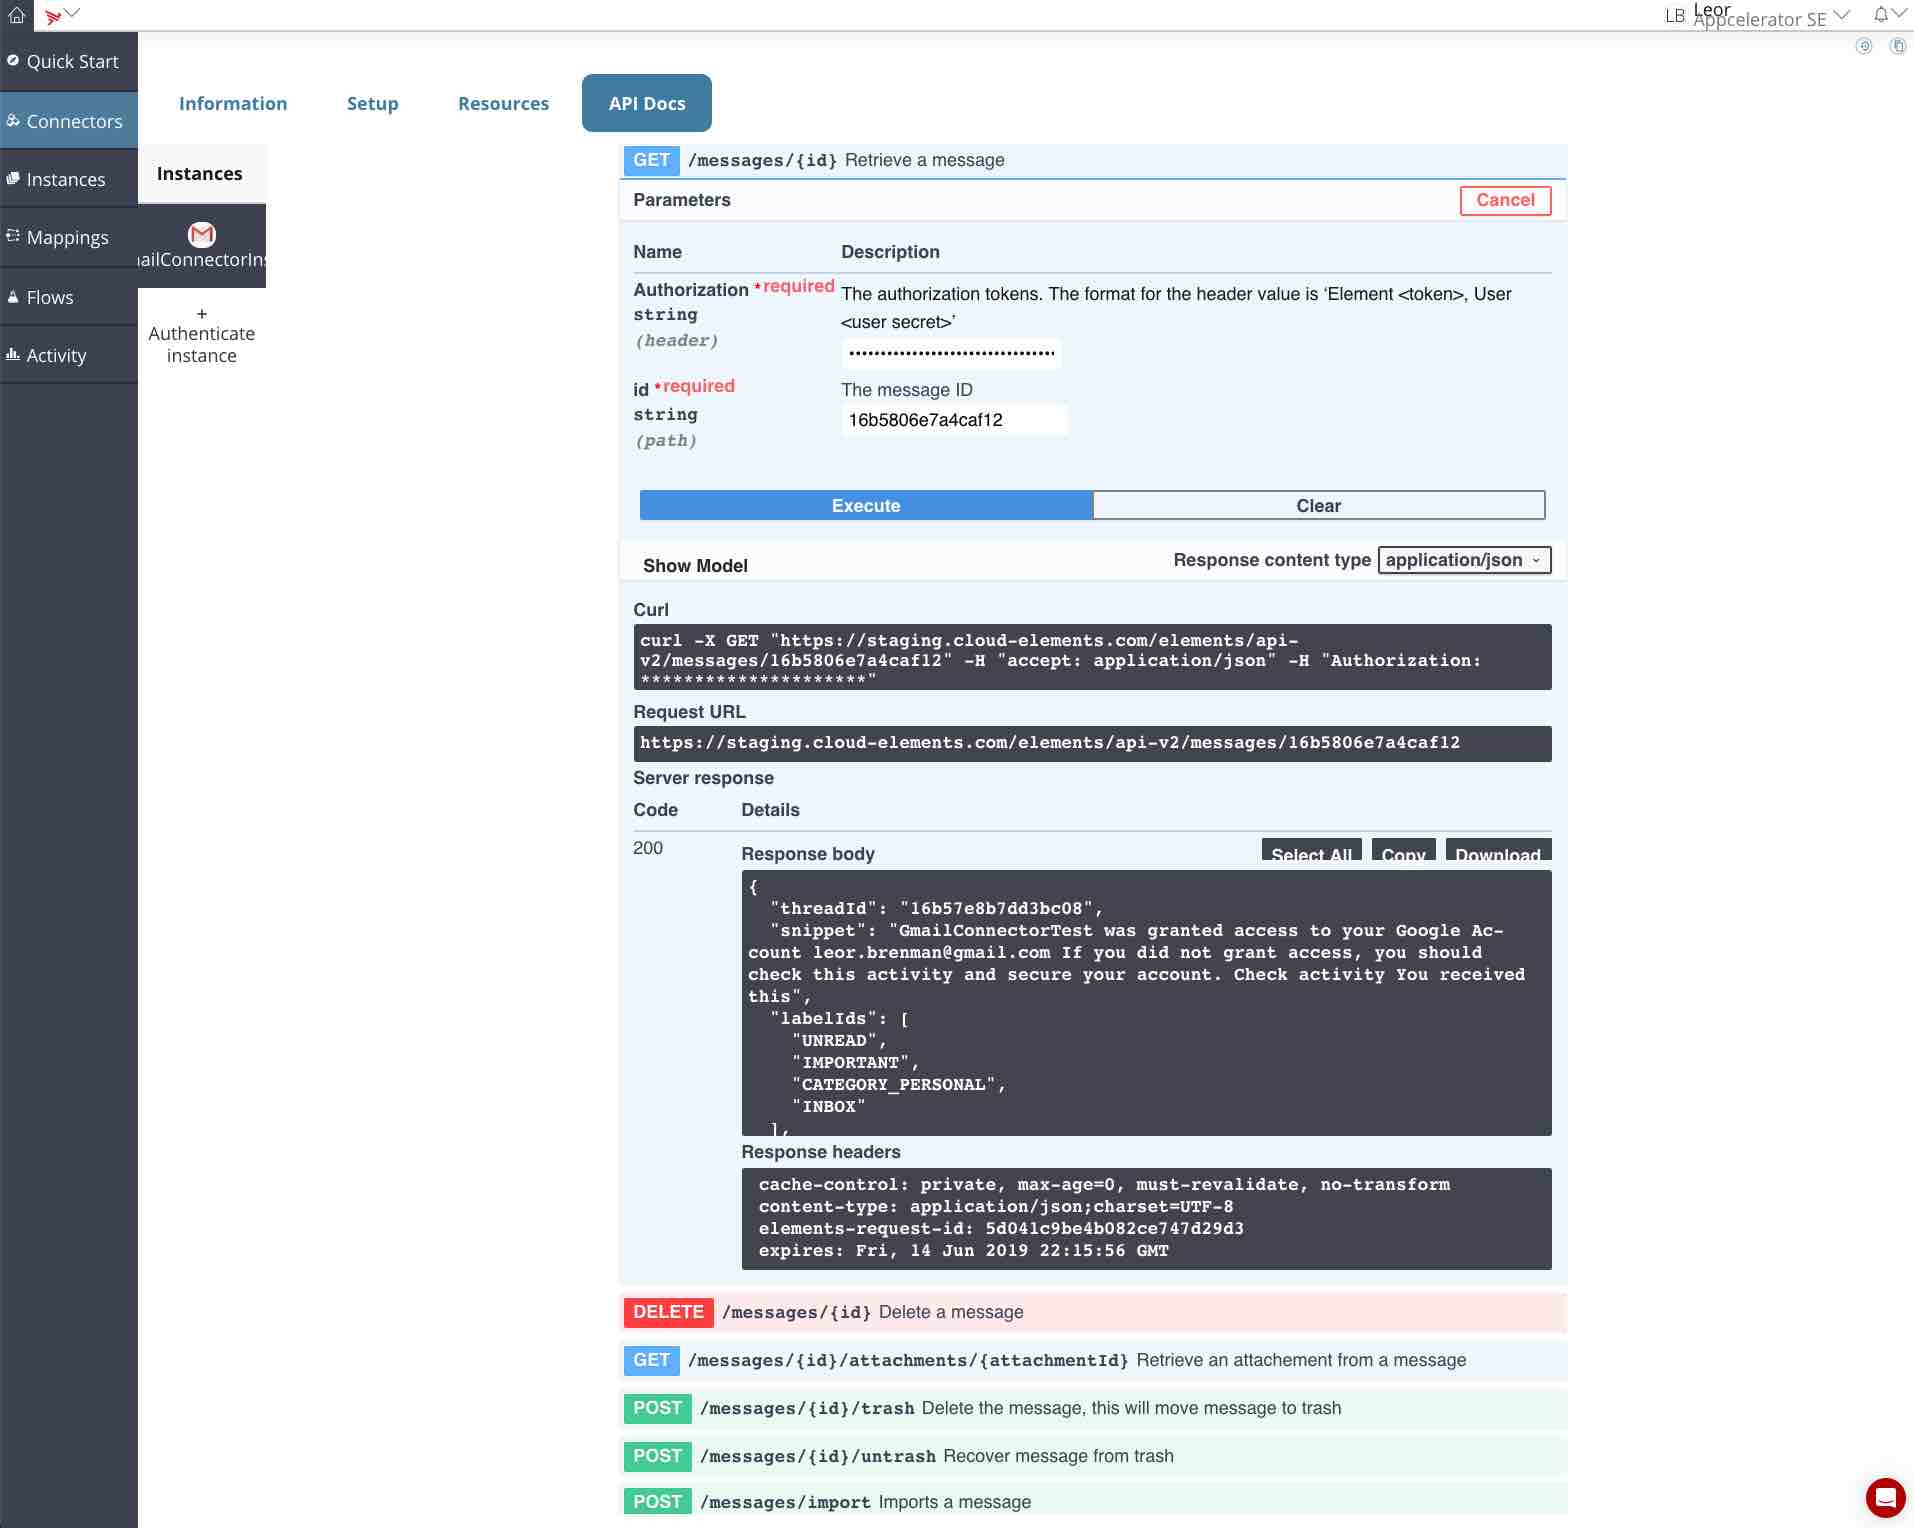
Your result should look similar to the following:
{
  "threadId": "16b57e8b7dd3bc08",
  "snippet": "GmailConnectorTest was granted access to your Google Account xxx@gmail.com If you did not grant access, you should check this activity and secure your account. Check activity You received this",
  "labelIds": [
    "UNREAD",
    "IMPORTANT",
    "CATEGORY_PERSONAL",
    "INBOX"
  ],
  ...
  },
  "historyId": "741783",
  "id": "16b5806e7a4caf12",
  "sizeEstimate": 11179,
  "internalDate": "1560549974000"
}
Note that this is the security email sent to my Gmail account when I authorized the Integration Builder connector access to my Gmail account using OAuth
Send an Email Using the API Docs
Go to the POST /message API and use the following for the body:
{
  "subject": "YOUR SUBJECT",
  "to": "TO EMAIL ADDRESS",
  "from": "FROM EMAIL ADRESS",
  "data": "THE MESSAGE BODY"
}
See screenshots below:

You should receive an email at the “to” email address.
Send an Email in a Flow
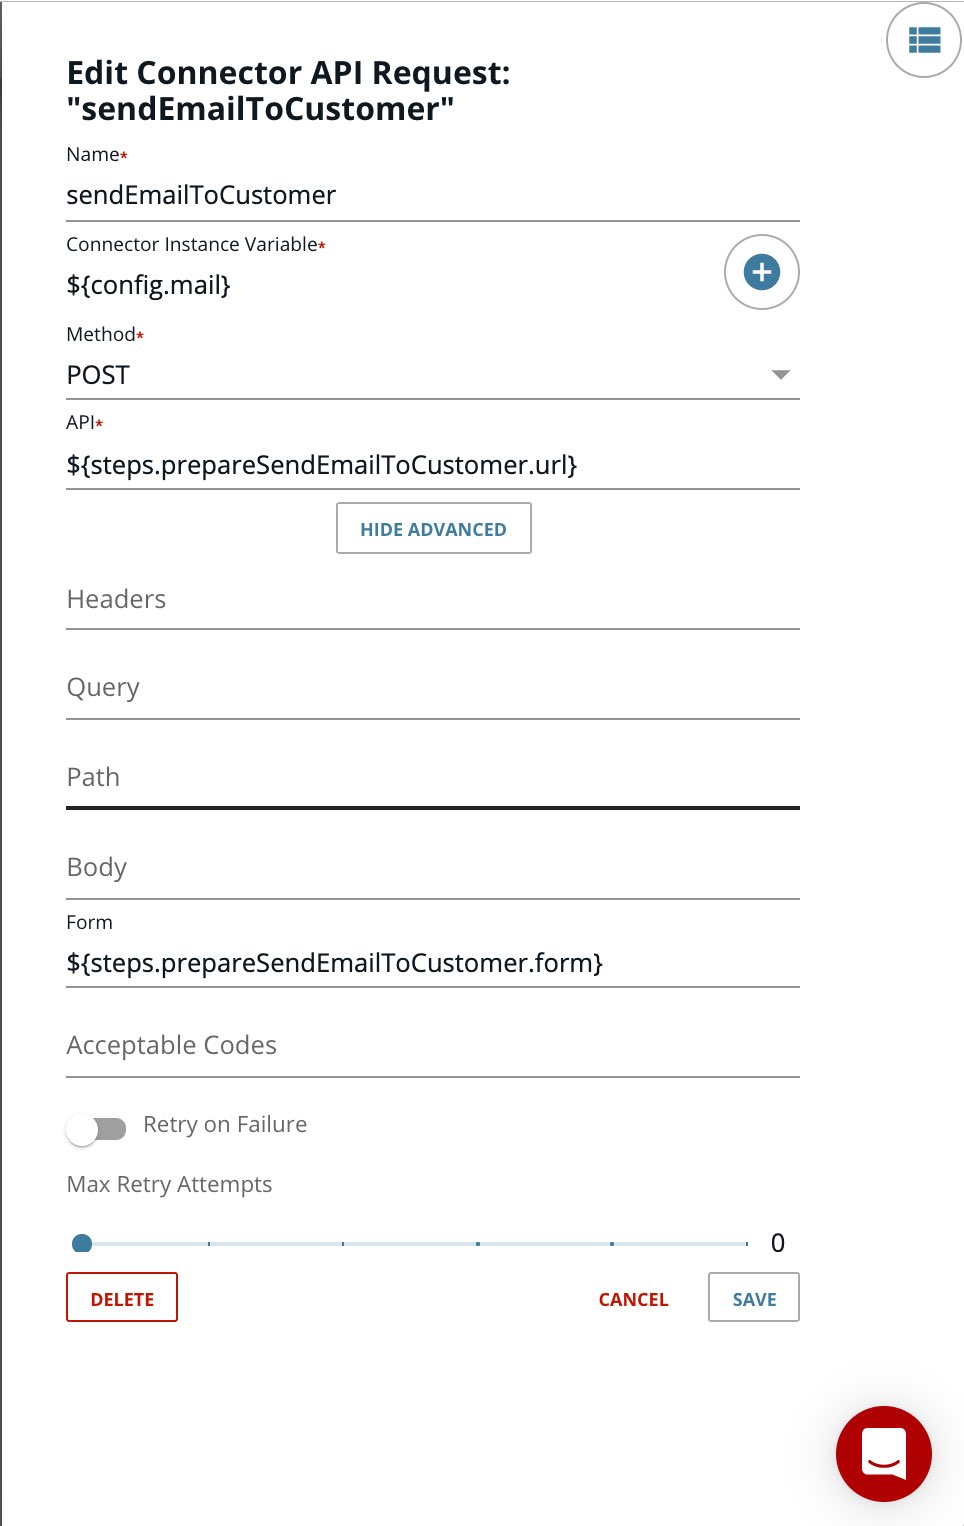
In order to end an email in a flow, we’ll use the Connector API Request step. However, as we’ve seen in many other Integration Builder blog posts we first need to prepare for making the Connector API Request in a prior JS Script step.
Here is a sample JS Script step called prepareSendEmailToCustomer:
let url = '/messages';

let form = {
  body: JSON.stringify({
   "subject": "Integration Builder Gmail Connector",
  "to": "lbrenman@axway.com",
  "from": "noreply-support@axway.com",
  "data": "Integration Builder is cool! Try it out!"
  })
};

done({url:url, form:form});
The Connector API Request step is shown below:
Summary
In this blog post, we saw how to set up Gmail for external API access via OAuth and then created a Gmail connector instance in Axway’s Integration Builder. We also saw how to send an email using the API Docs and in a flow. Now you can create Integration Builder flows that leverage Gmail.
Also, we now have a Gmail API Proxy in AMPLIFY Central that can be used in non Integration Builder applications (i.e. mobile, web, IoT, …).
Refer to other Integration Builder posts for details on how to expose the Gmail API Proxy in AMPLIFY Central such as this one that describes how to do this for a Syncplicity connector
Follow us on social